Plein Air Suggested Supply List New to plein air? Here are a few tips to help get you started. Ready to get started? sign up for the 3 day plein air worksop in at The Parker Ranch in Clayton, GA May 5 - 7 http://dawnart.com/classes/2016/5/20/plein-air-retreat-at-parker-ranch
Supplies
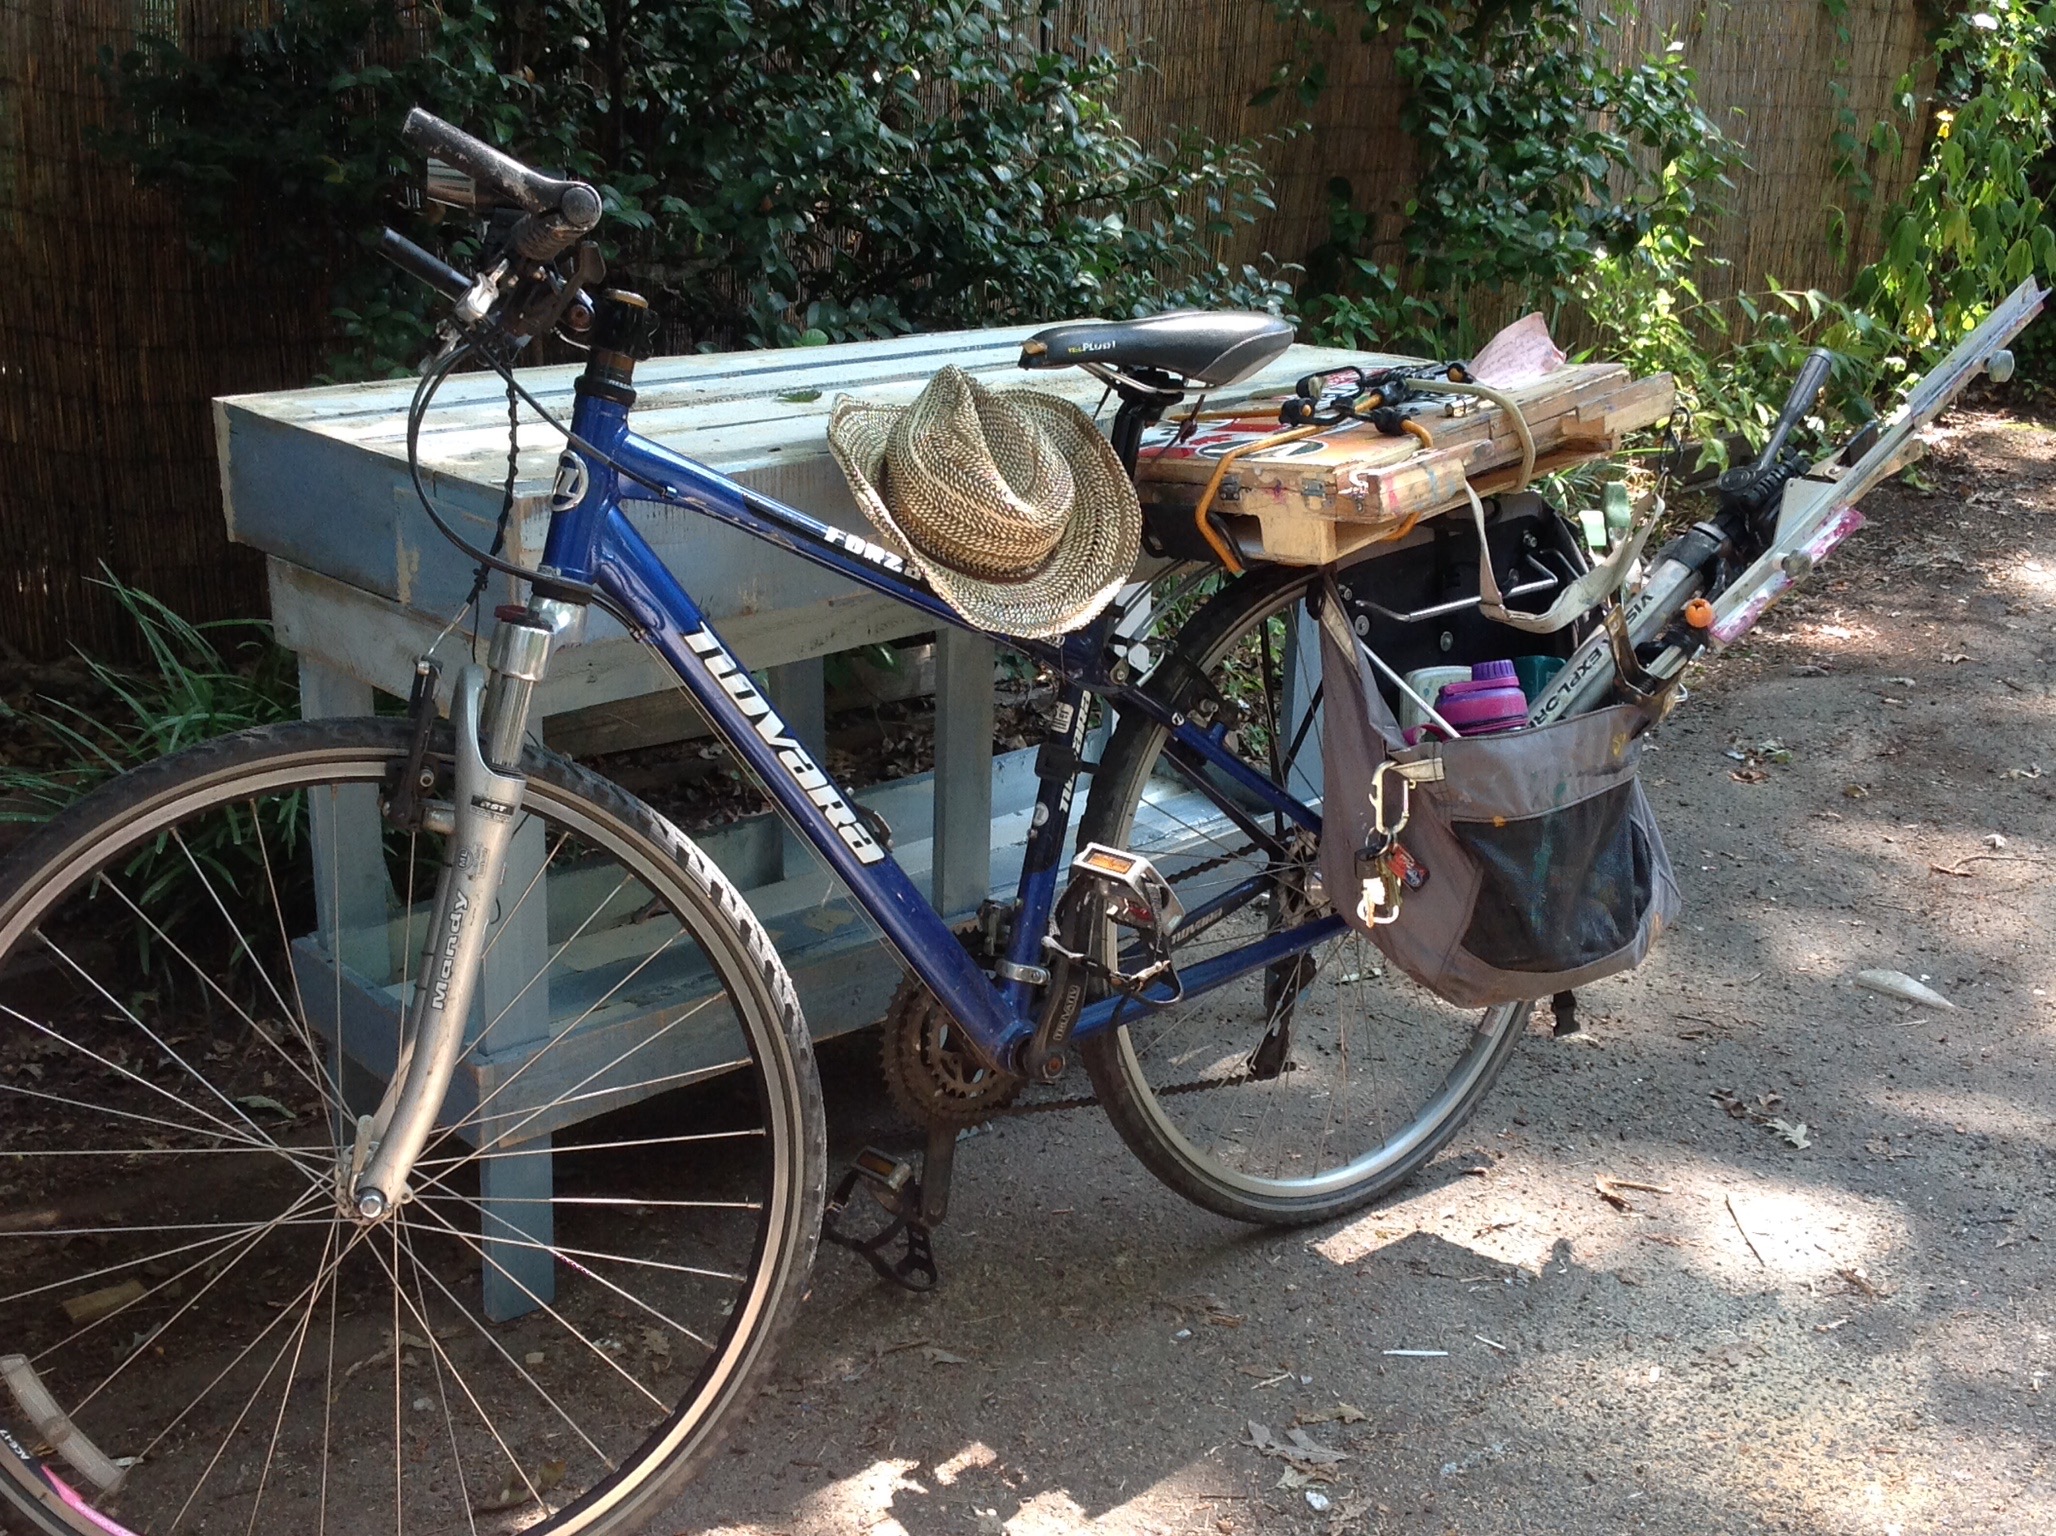
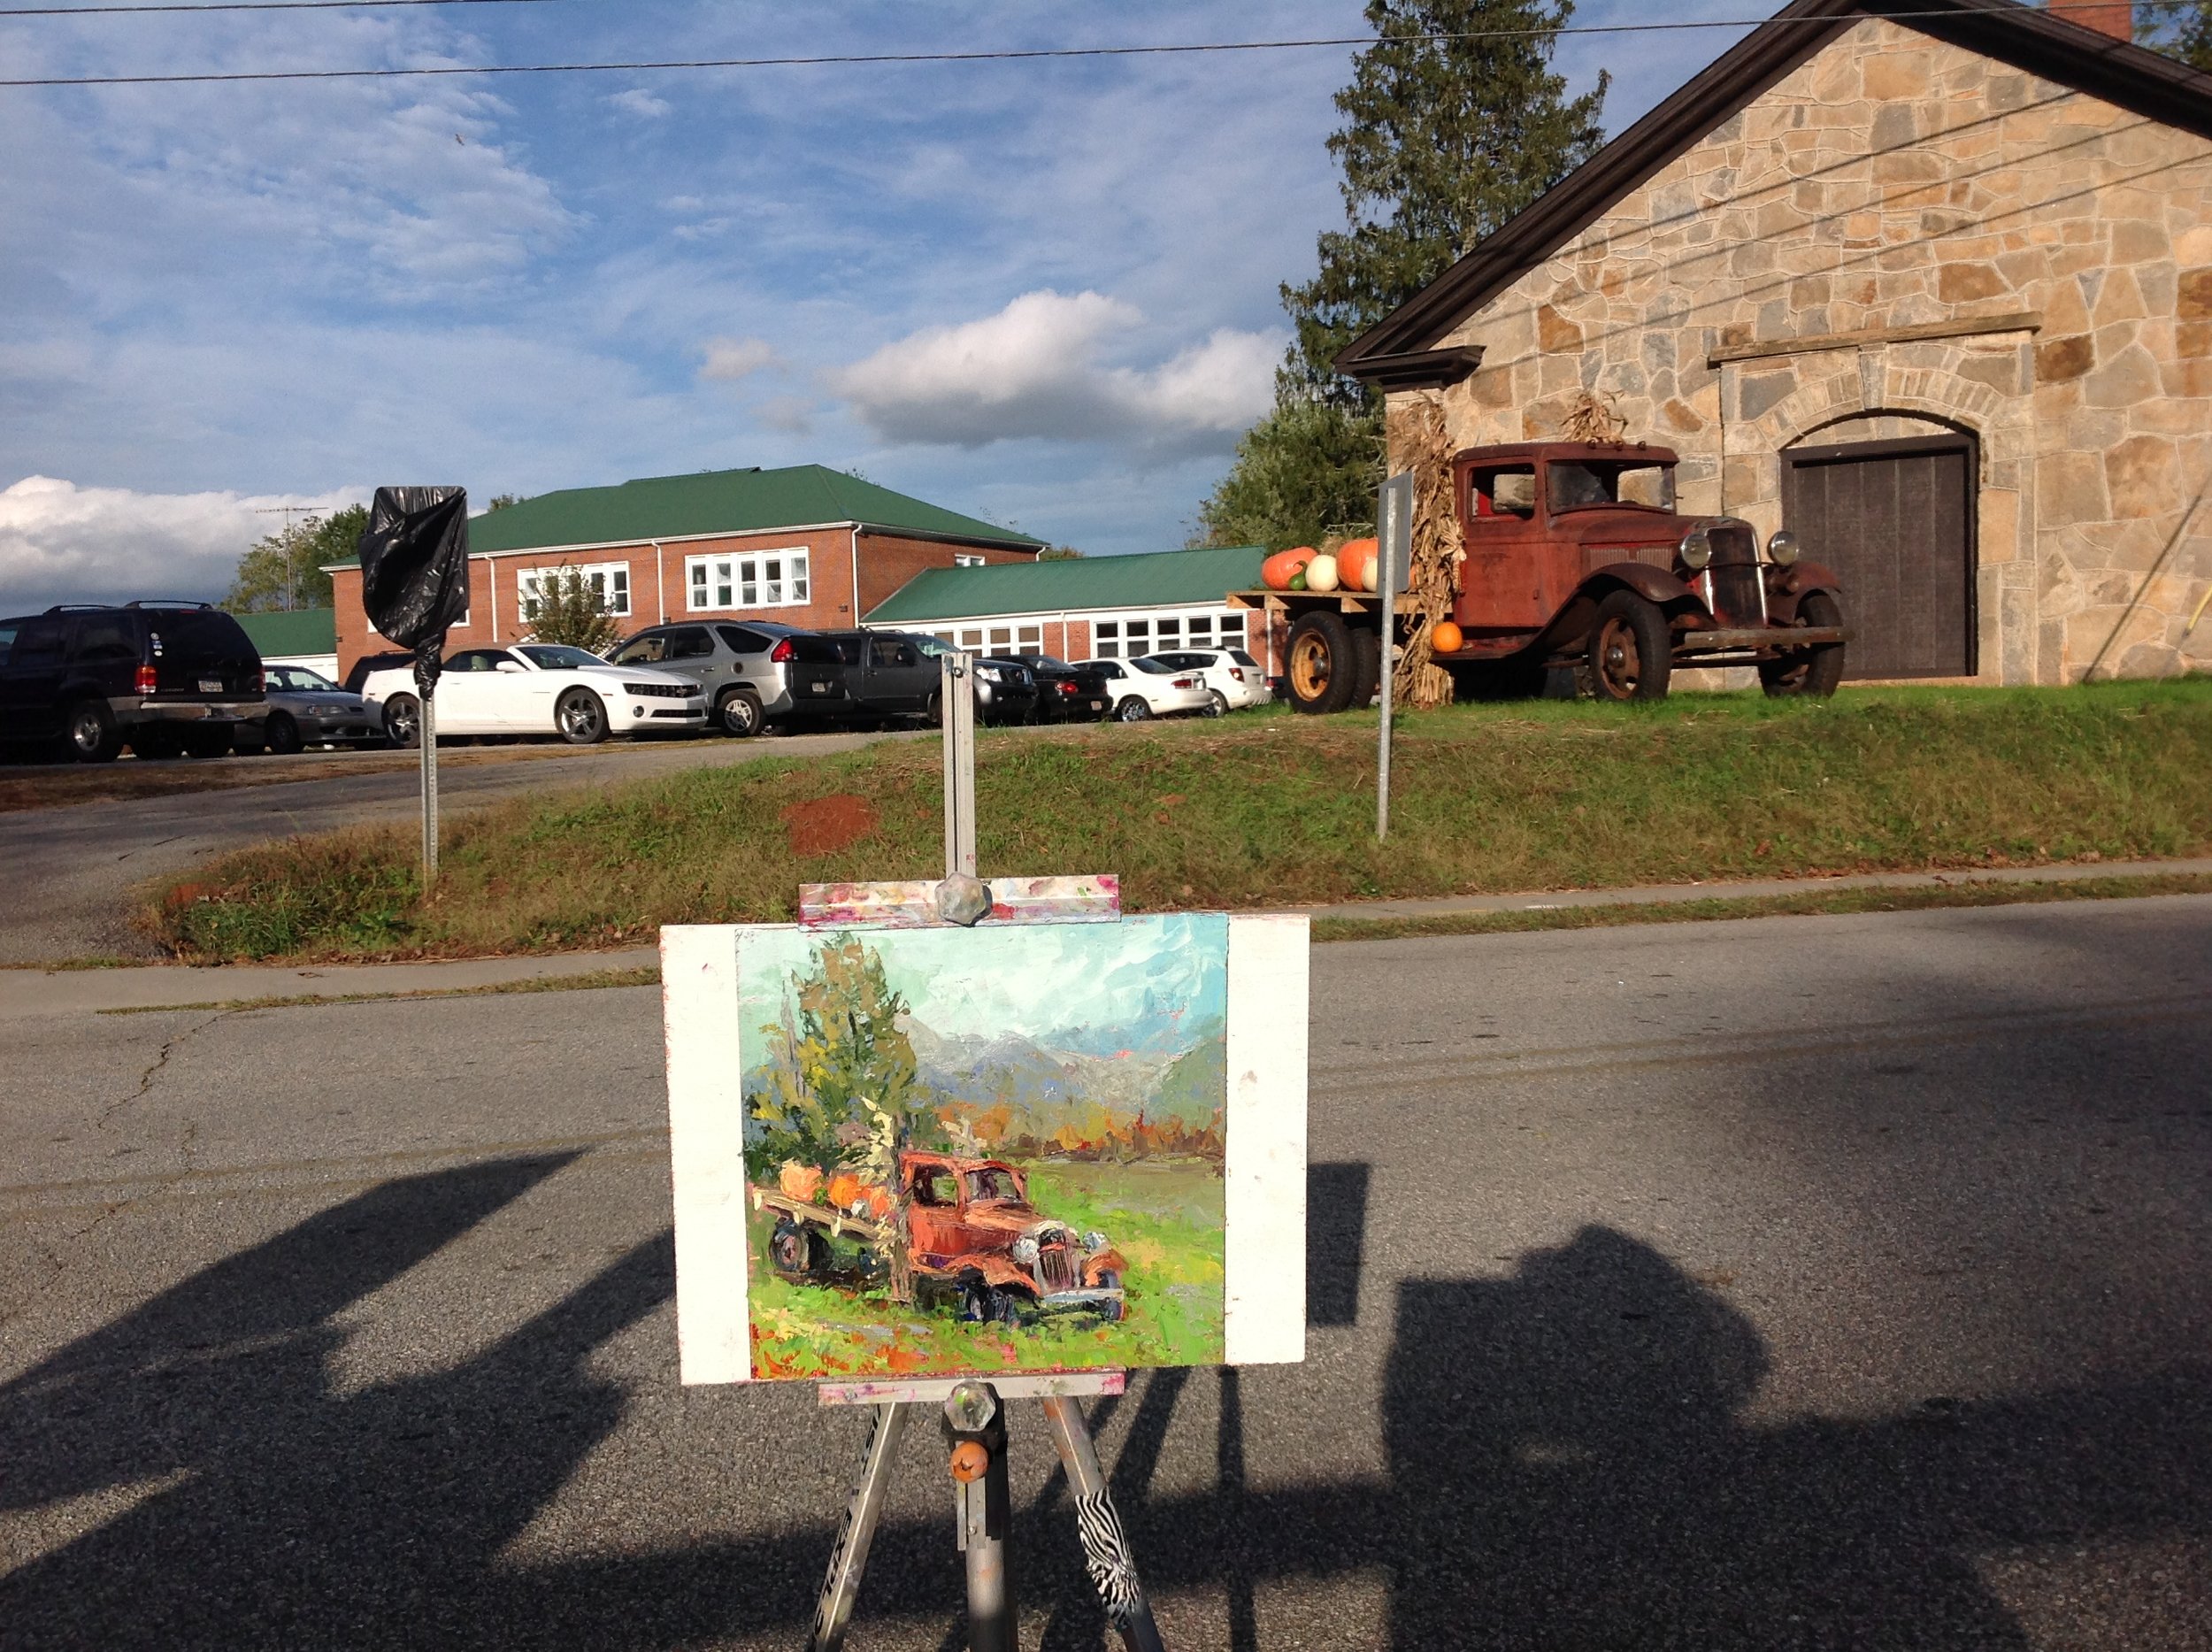
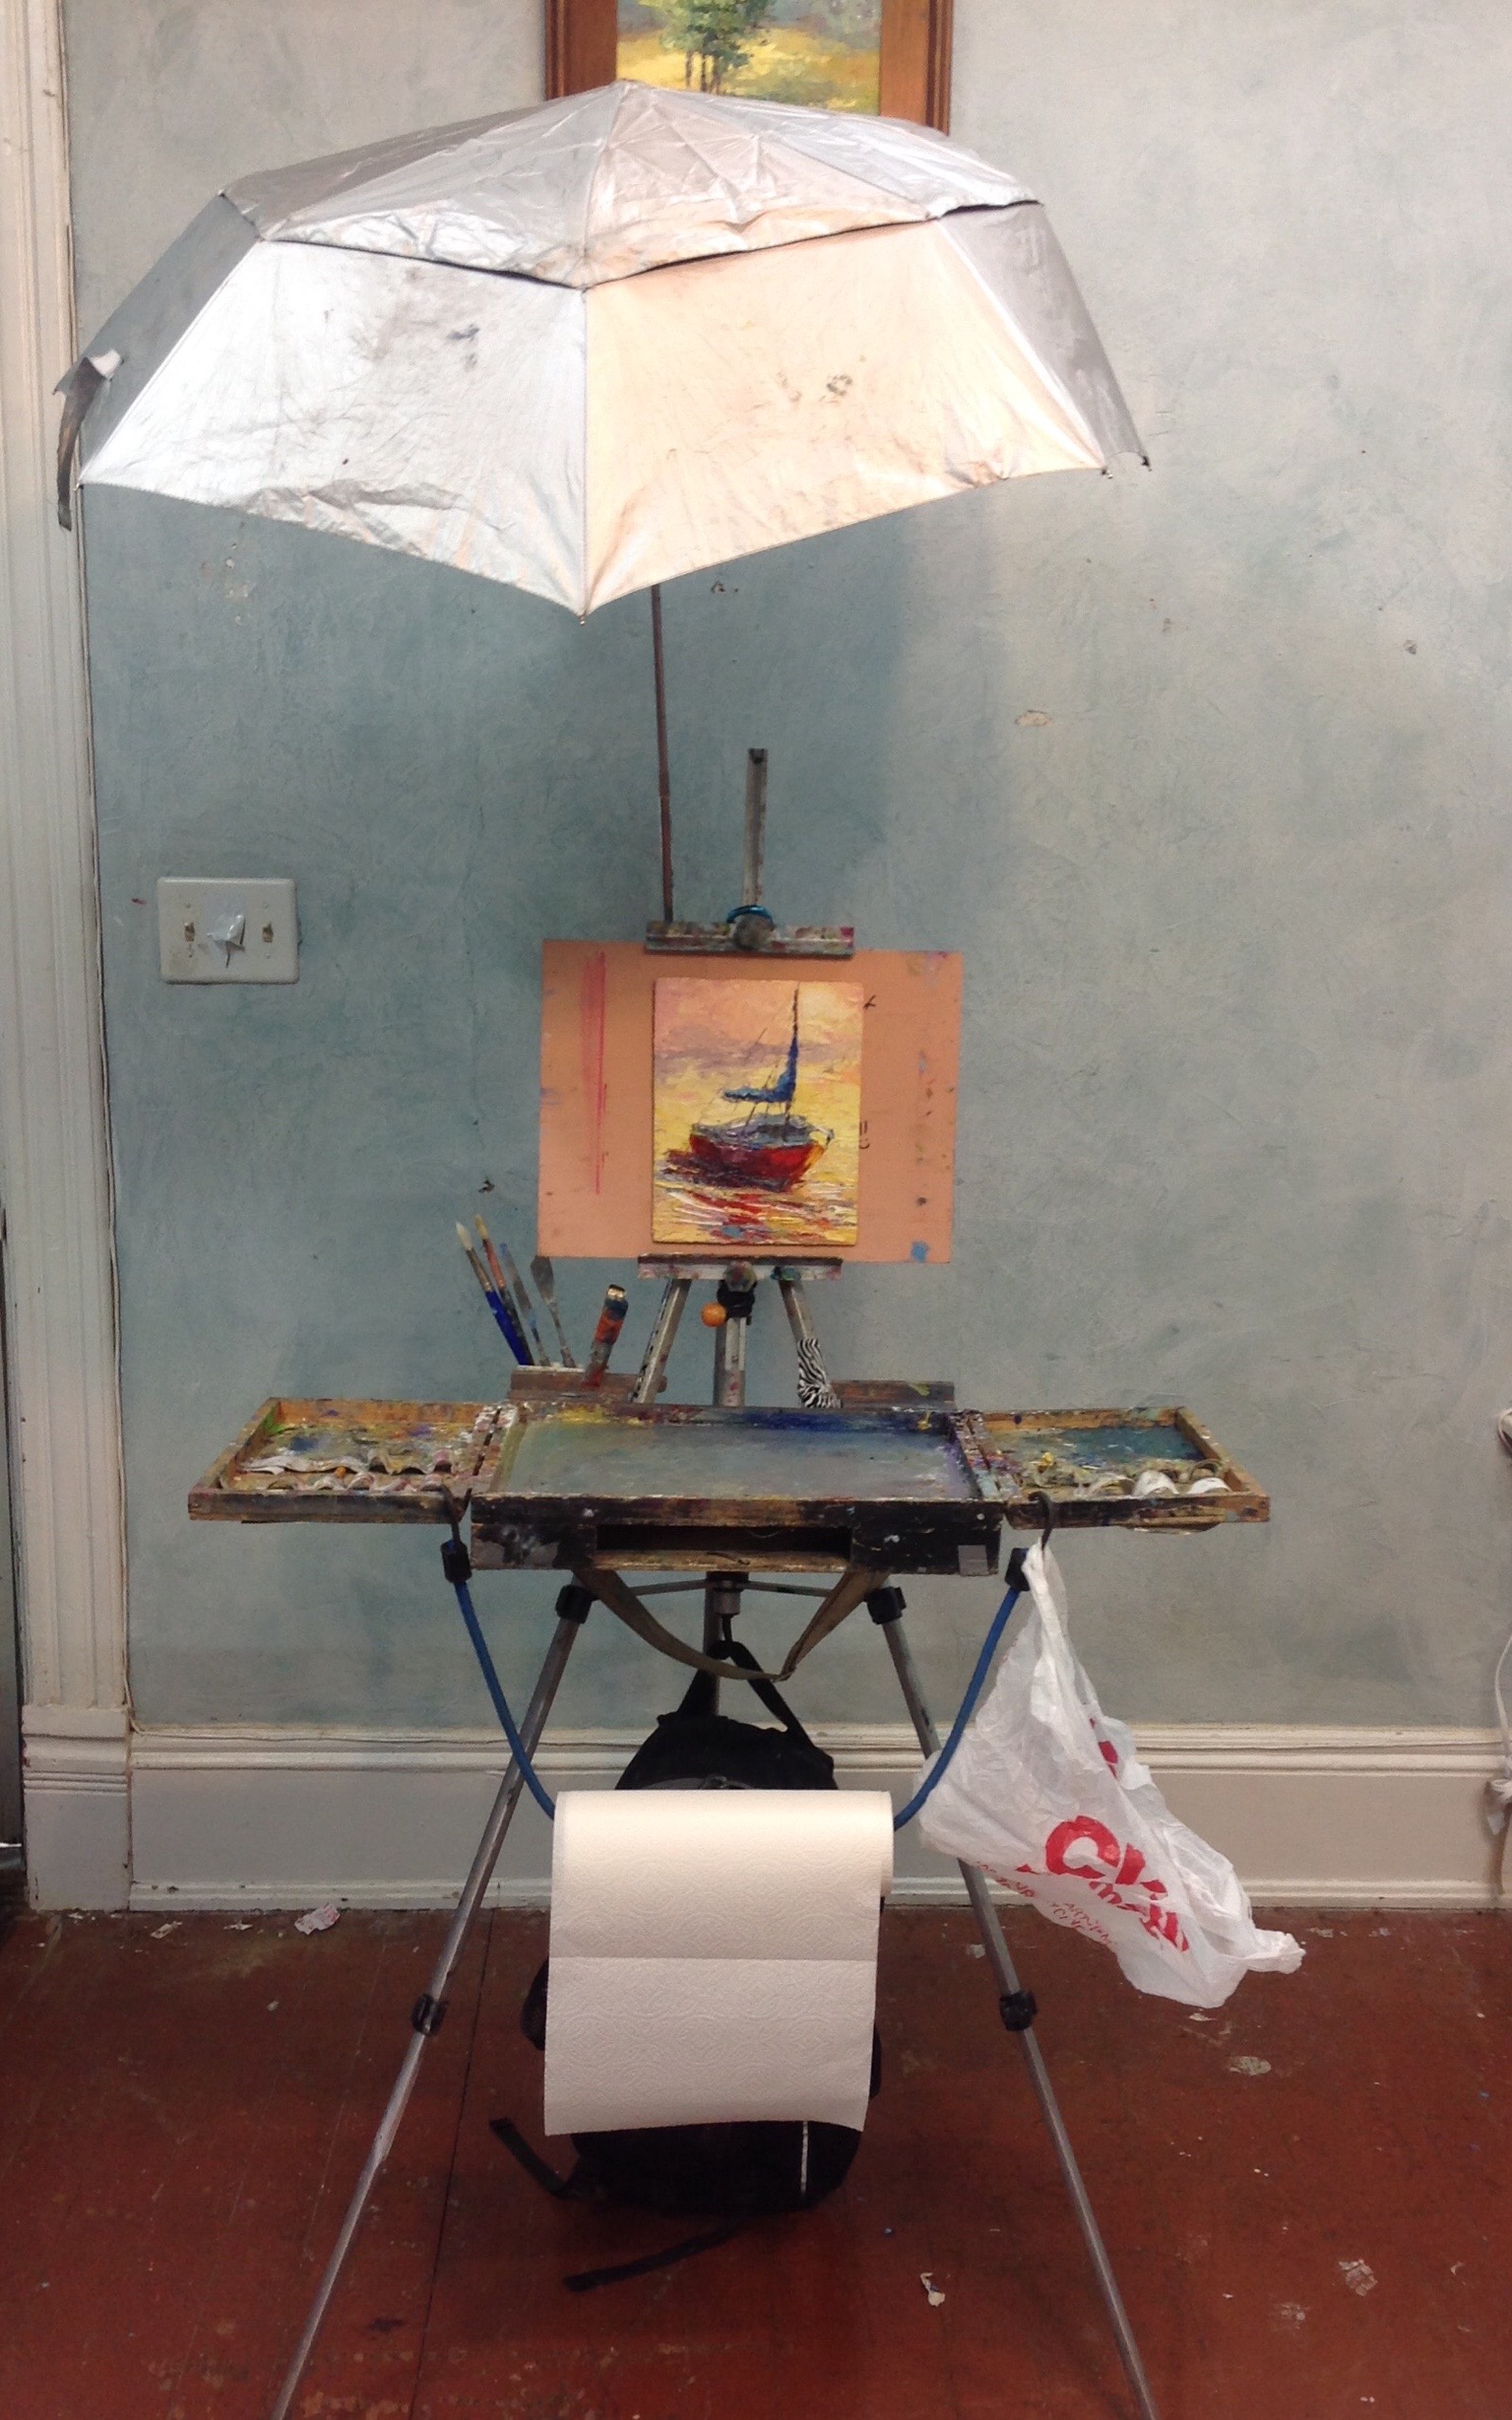
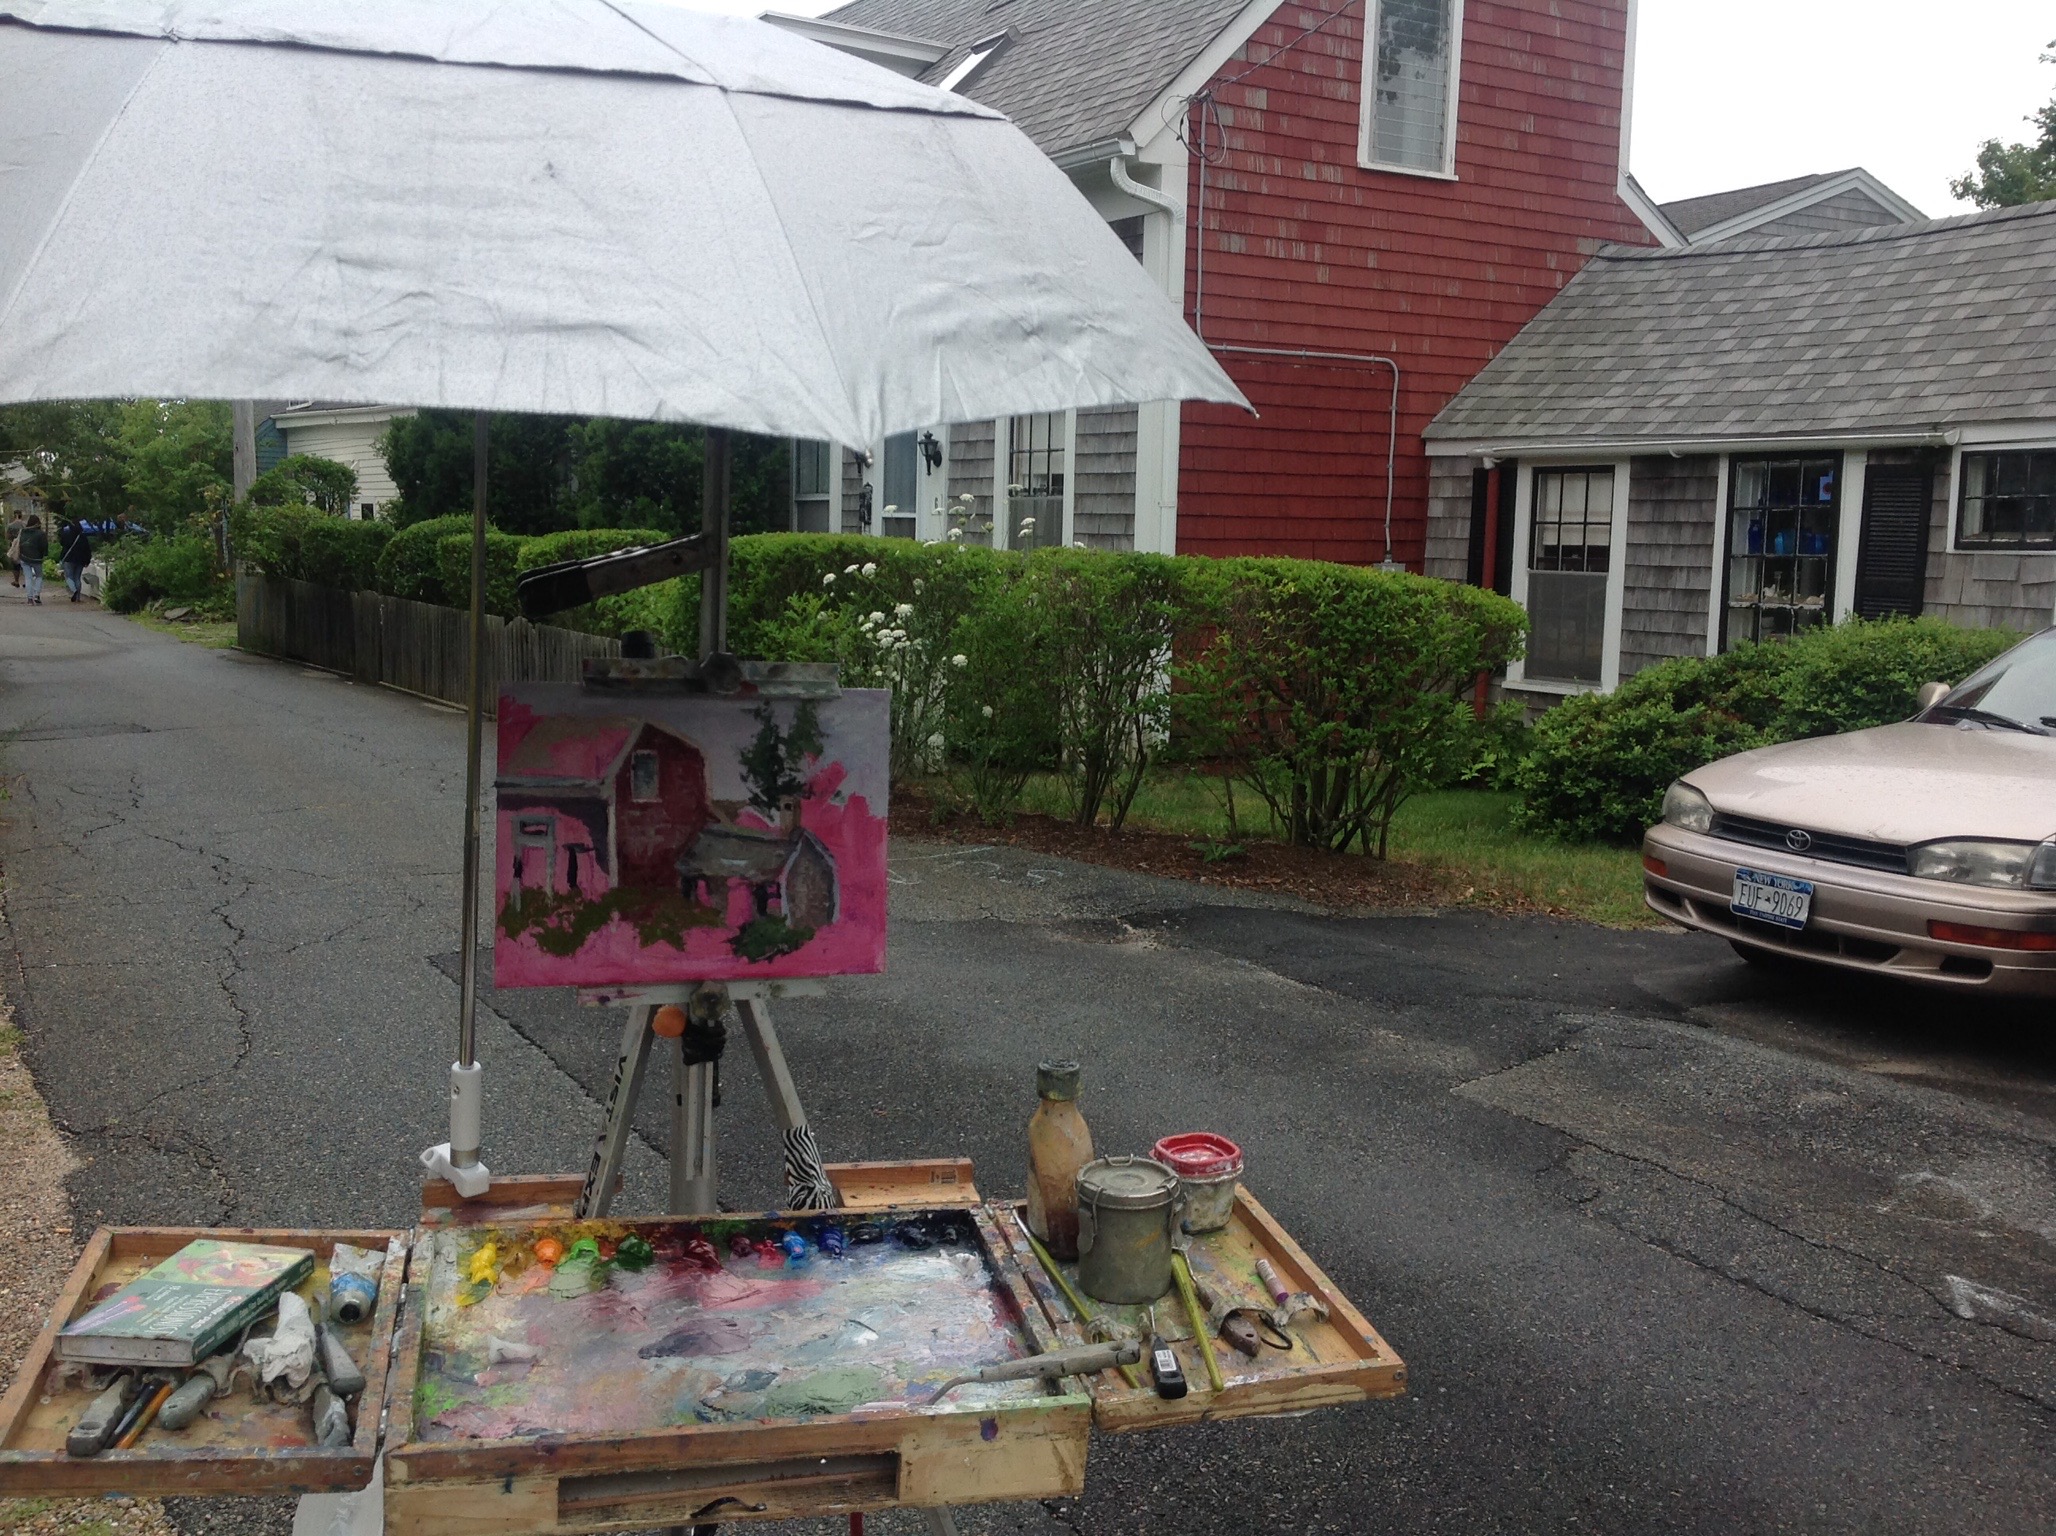
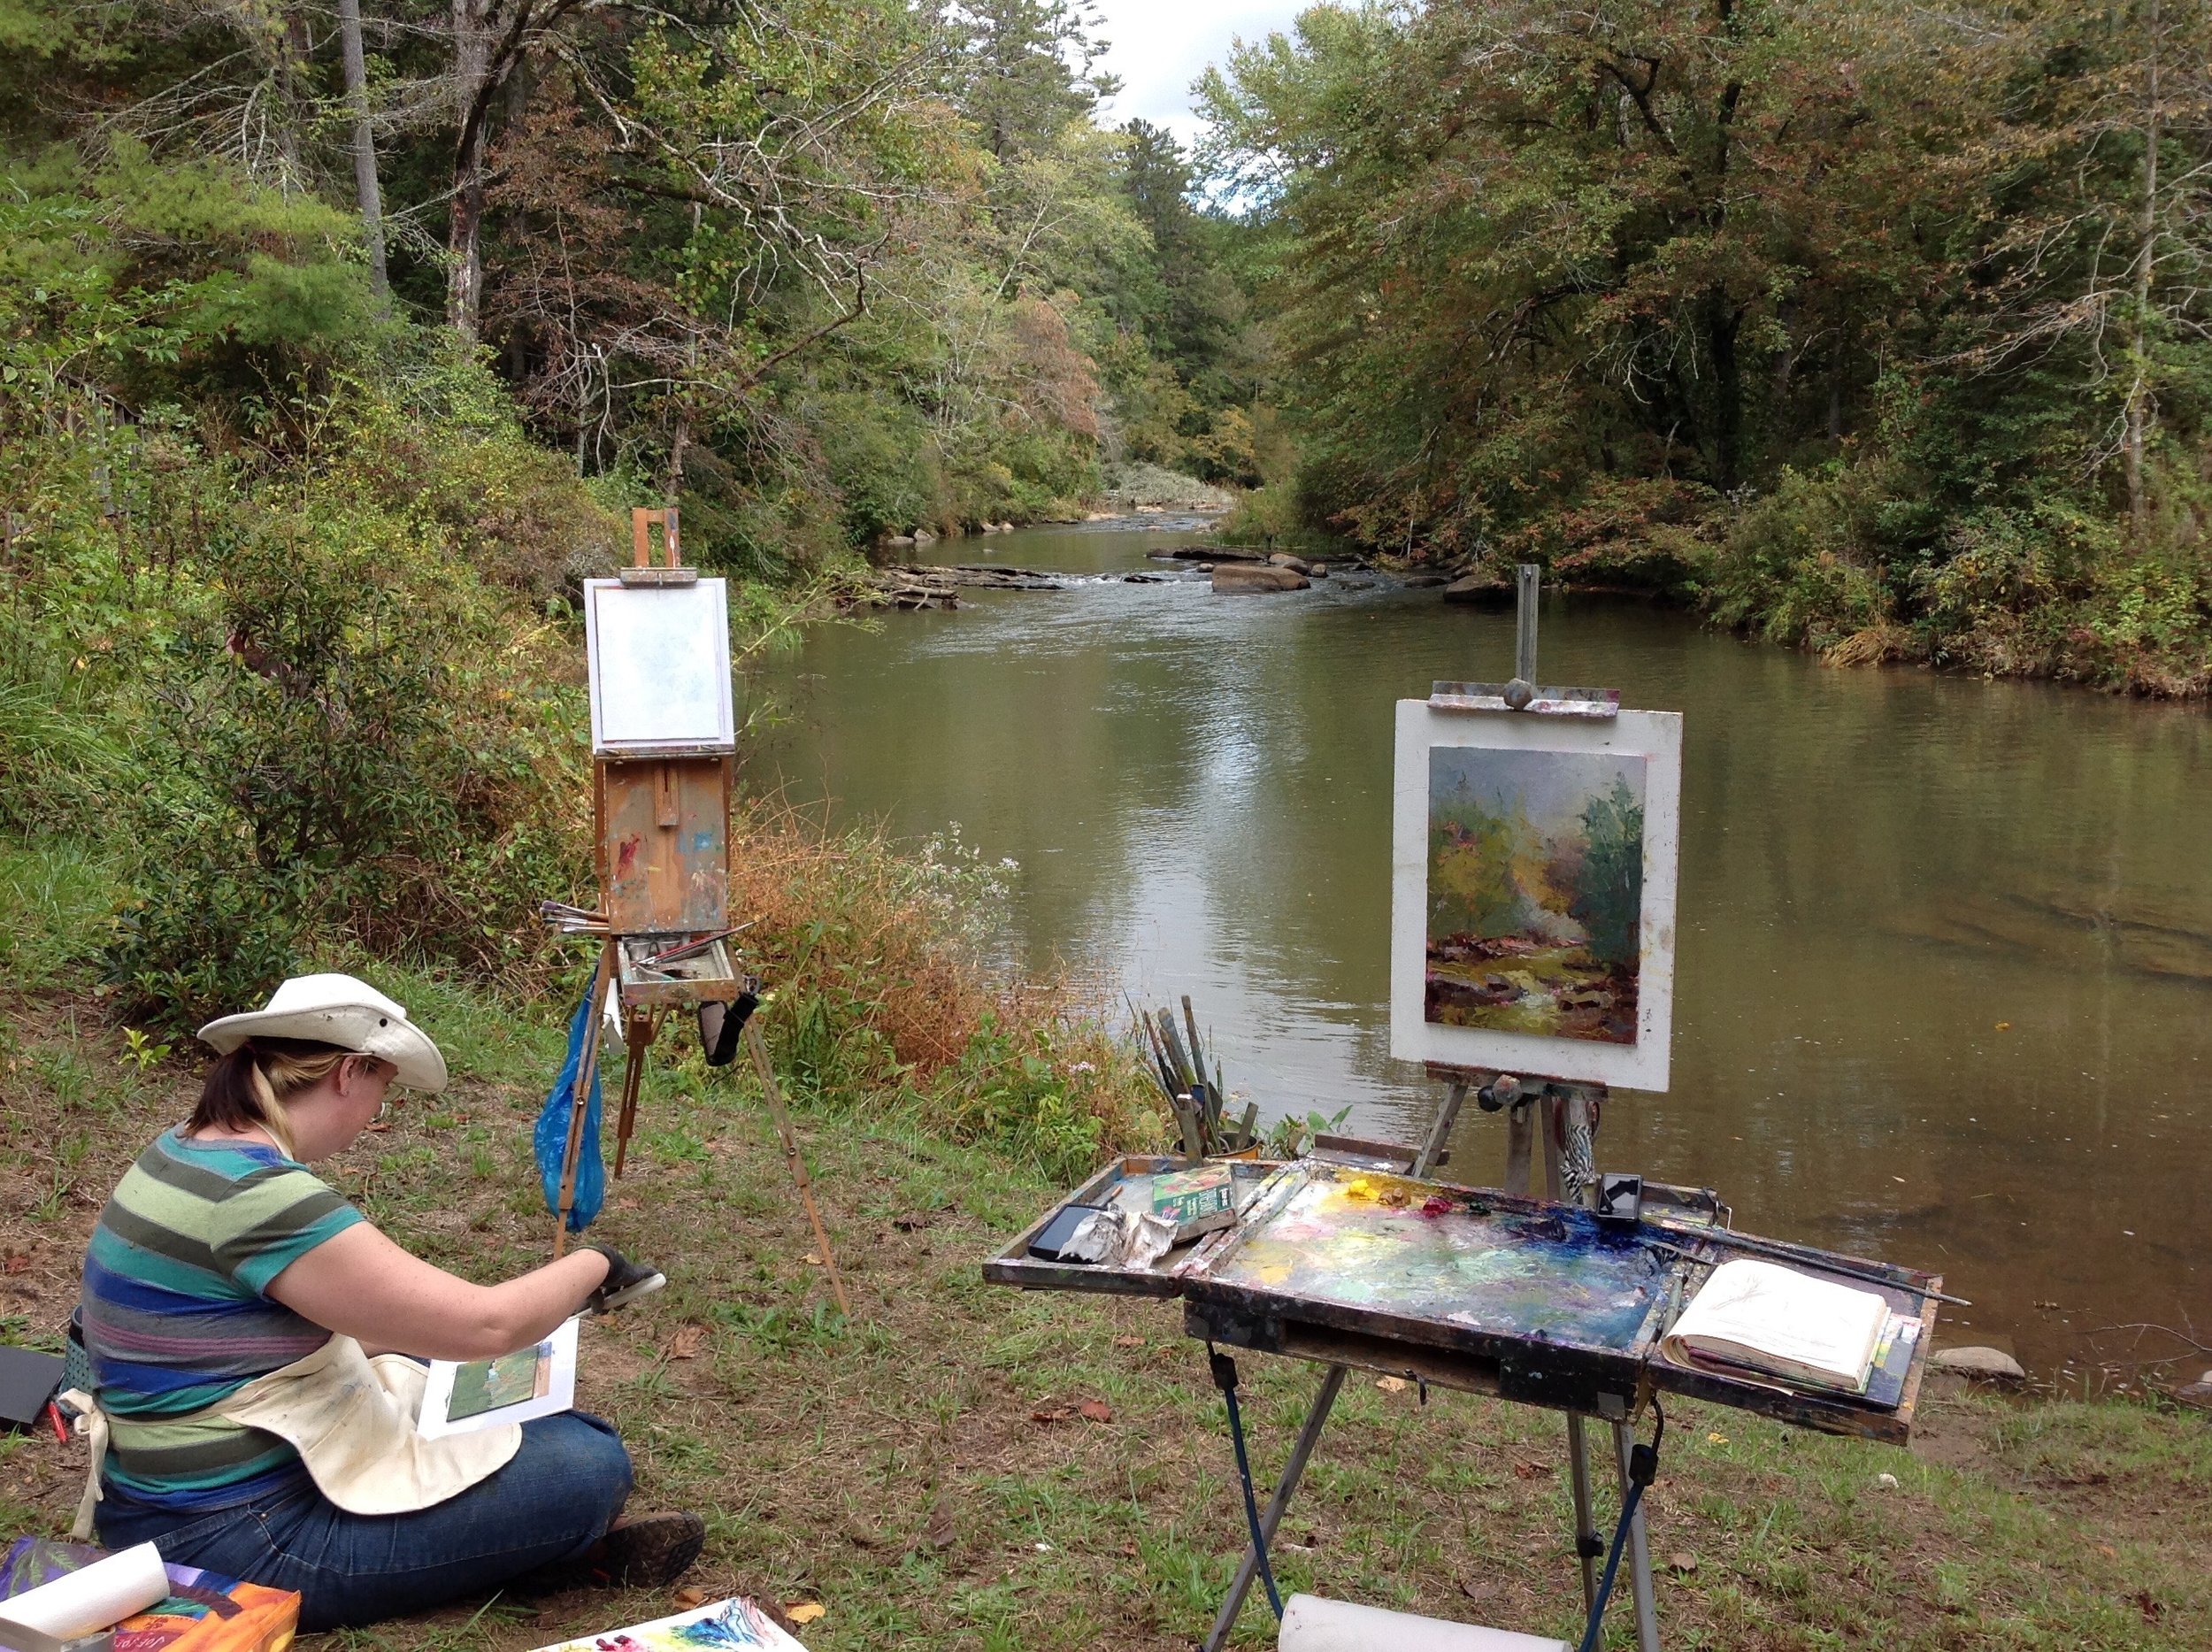
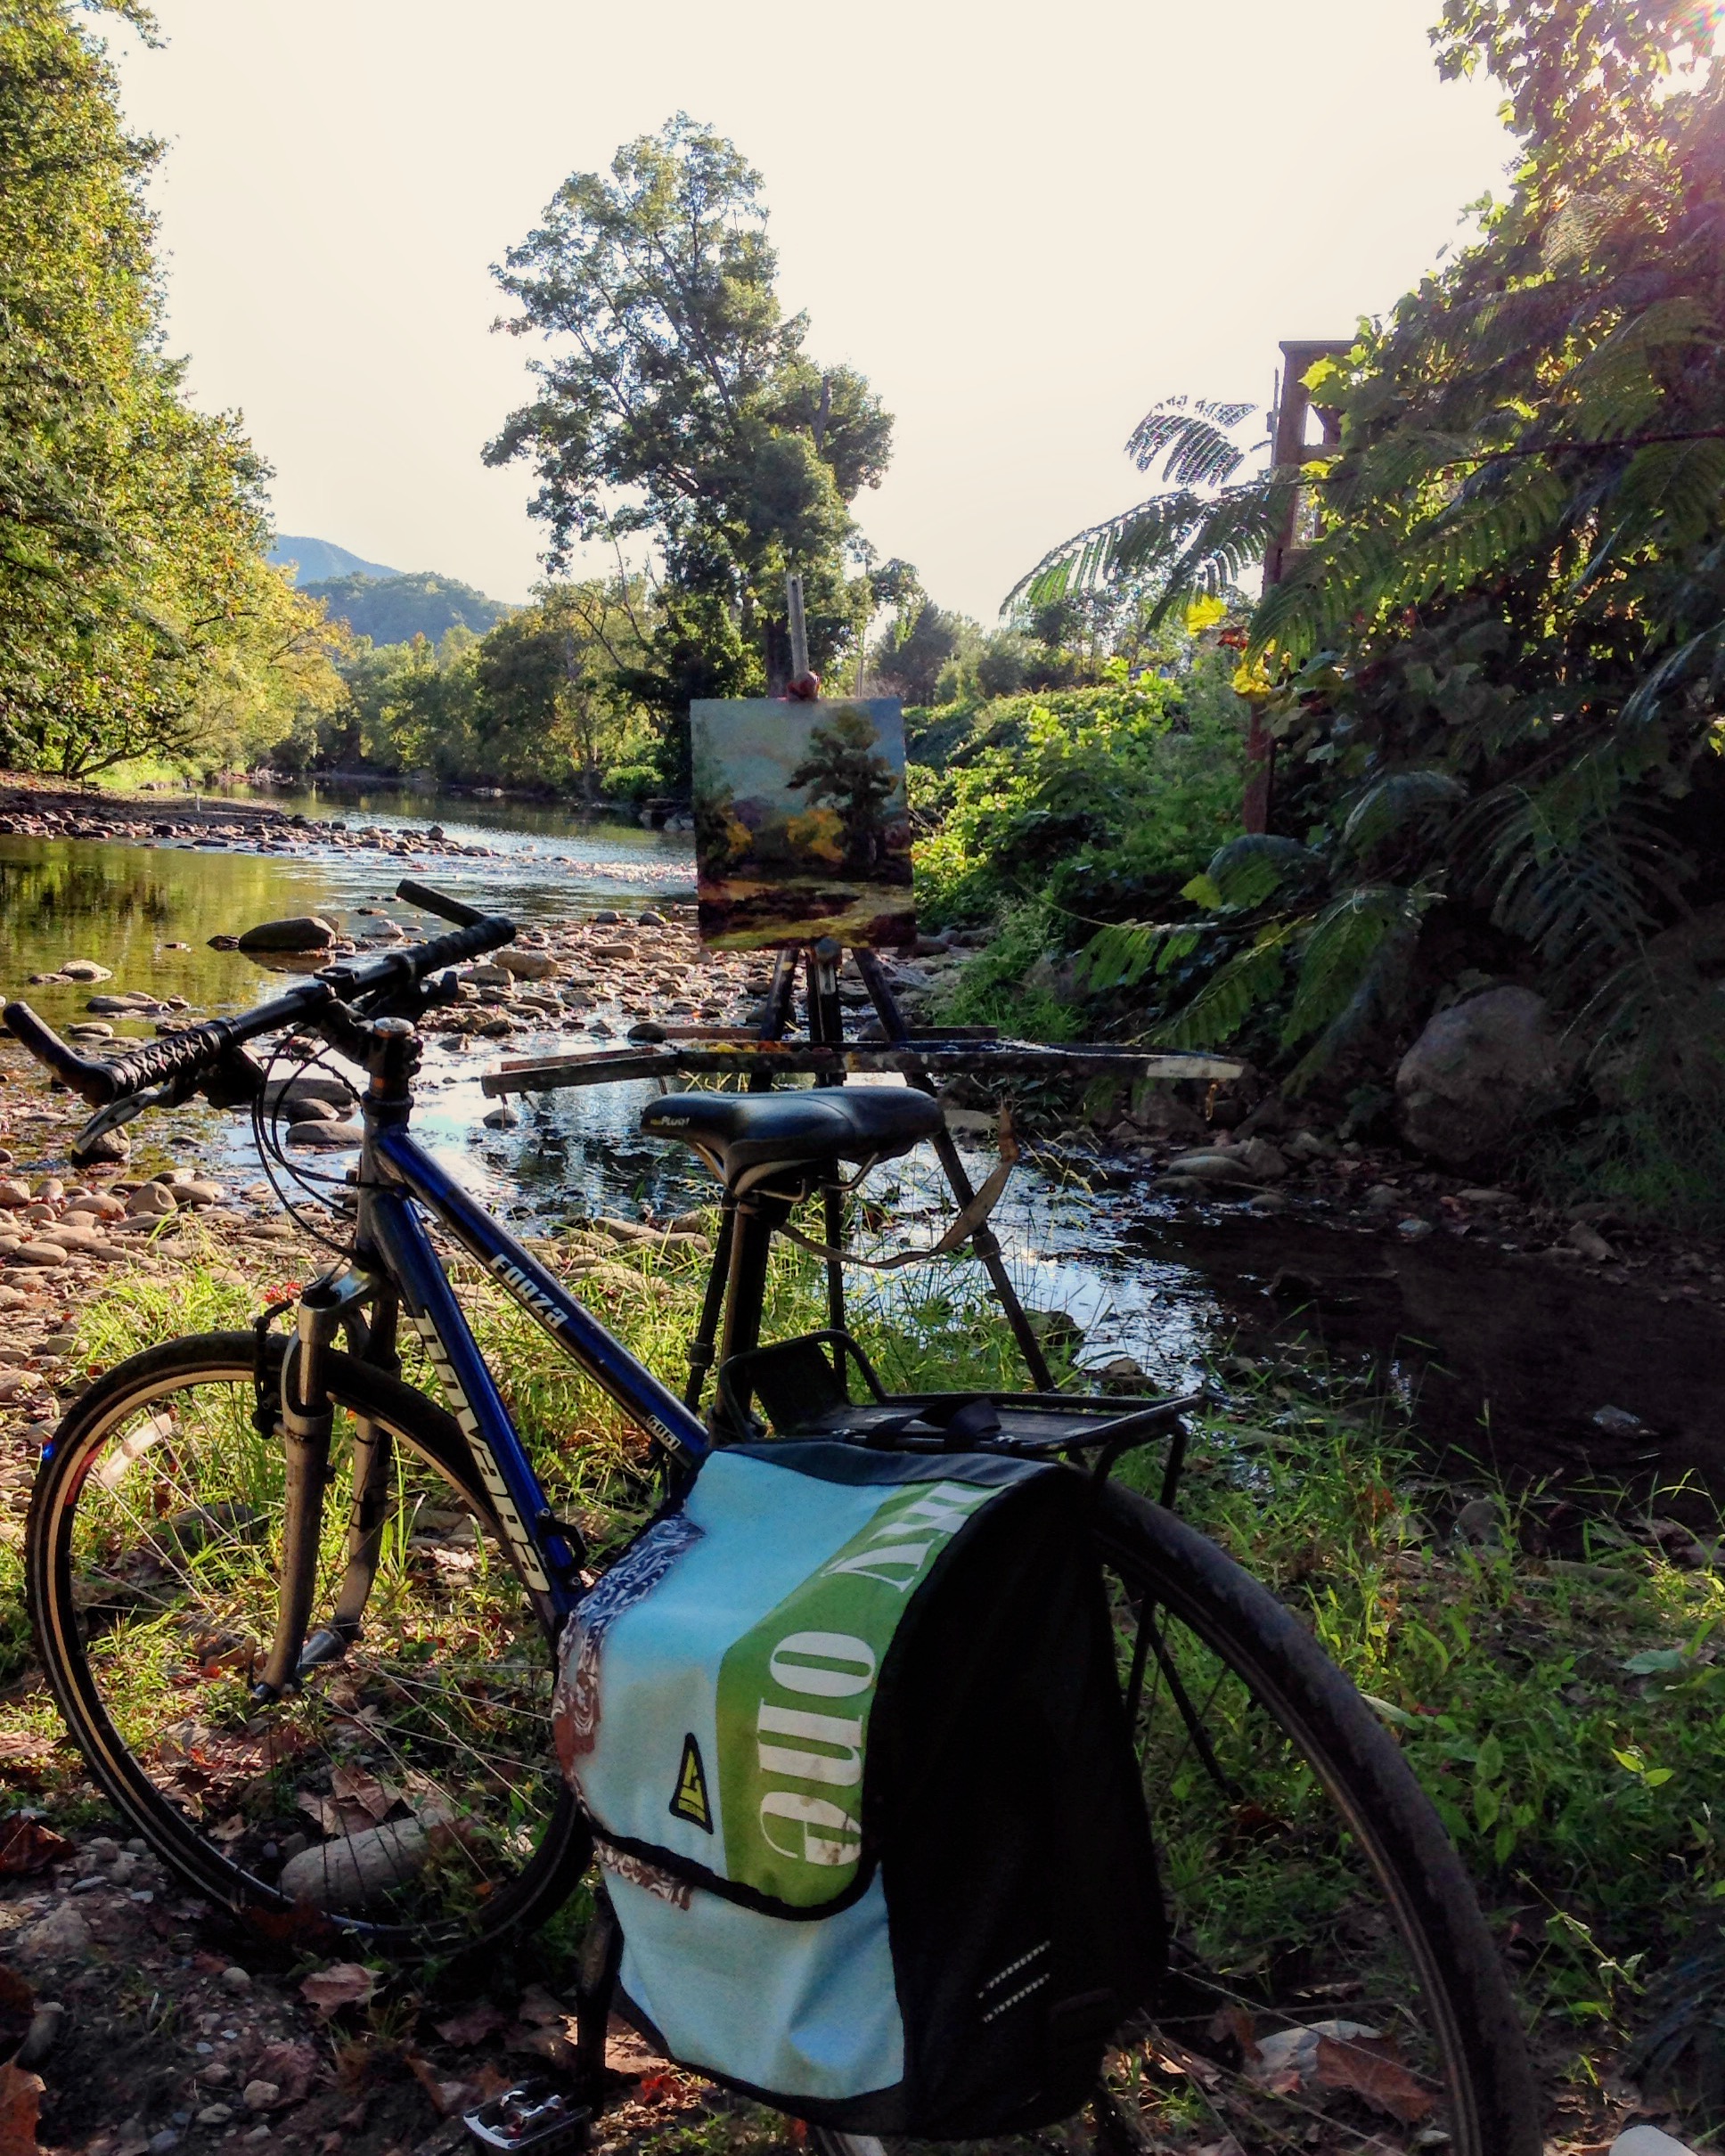
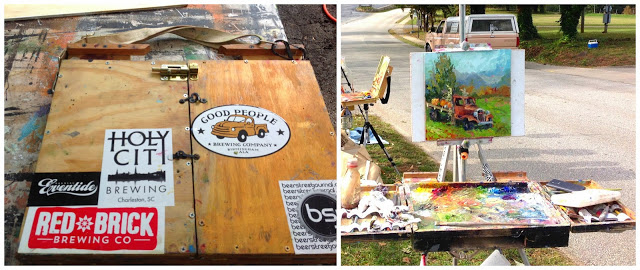
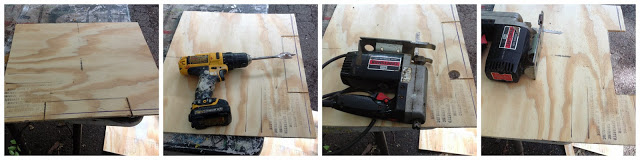
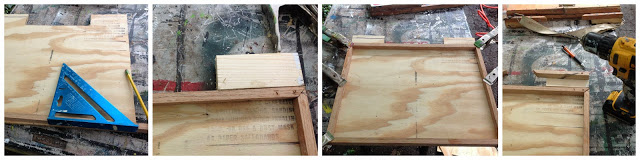
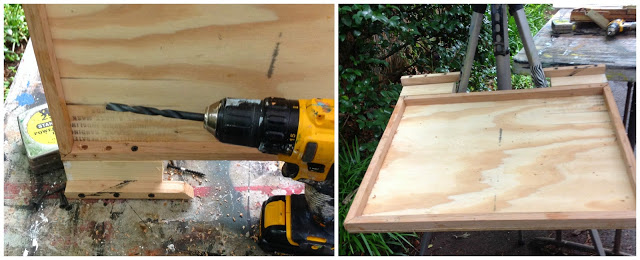
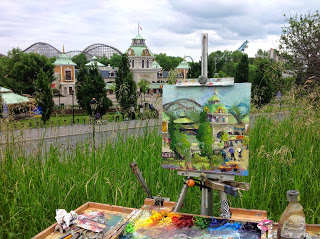
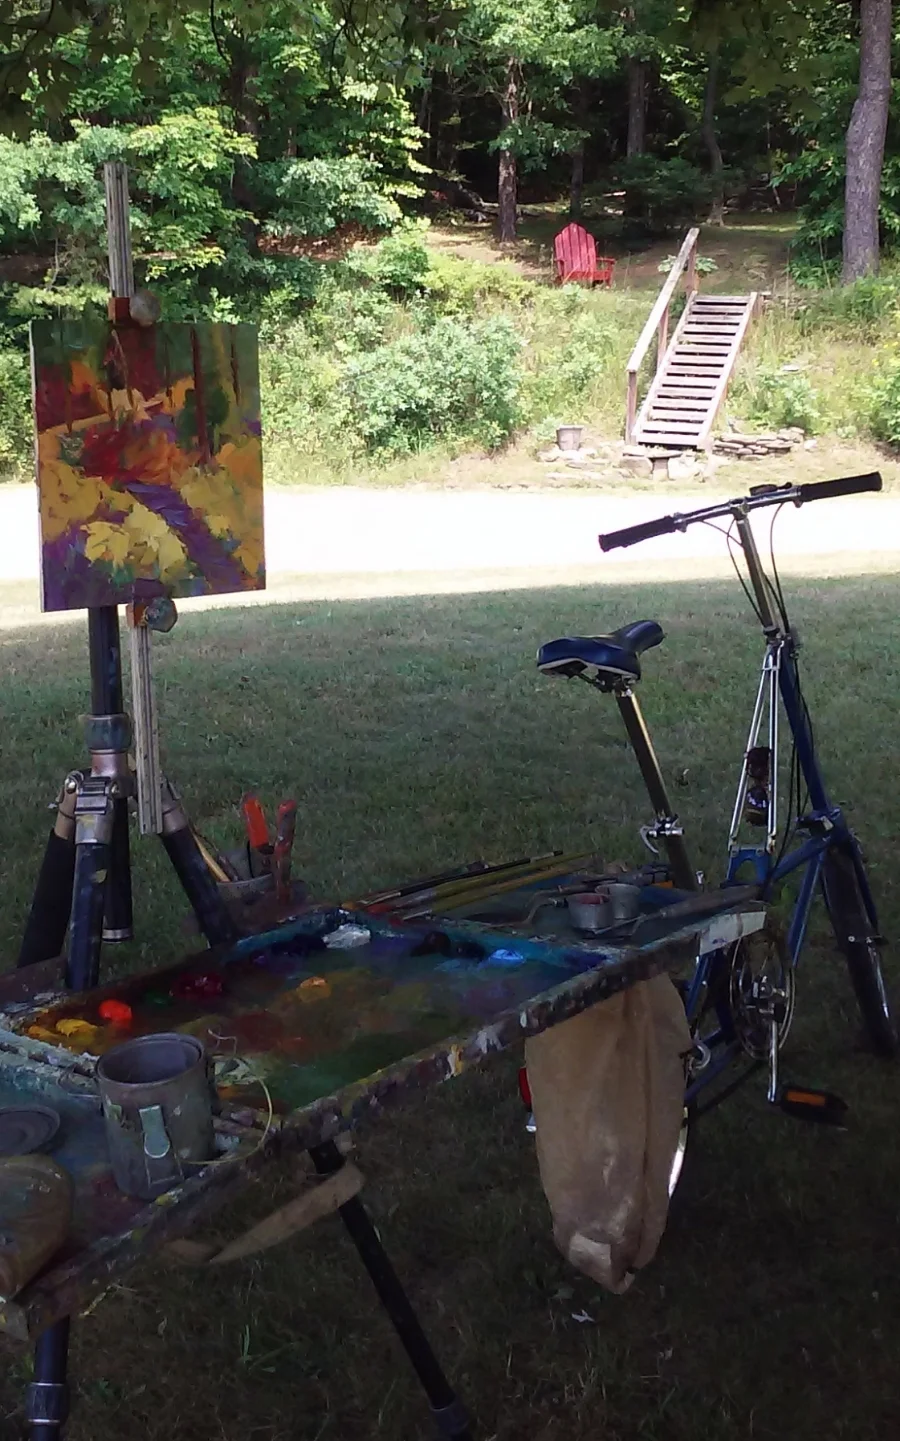
Easel - 1/2 French easel or anything easy to carry and stable outdoor. I use a tripod with a paint box. There are many options with a range of prices. See links below.
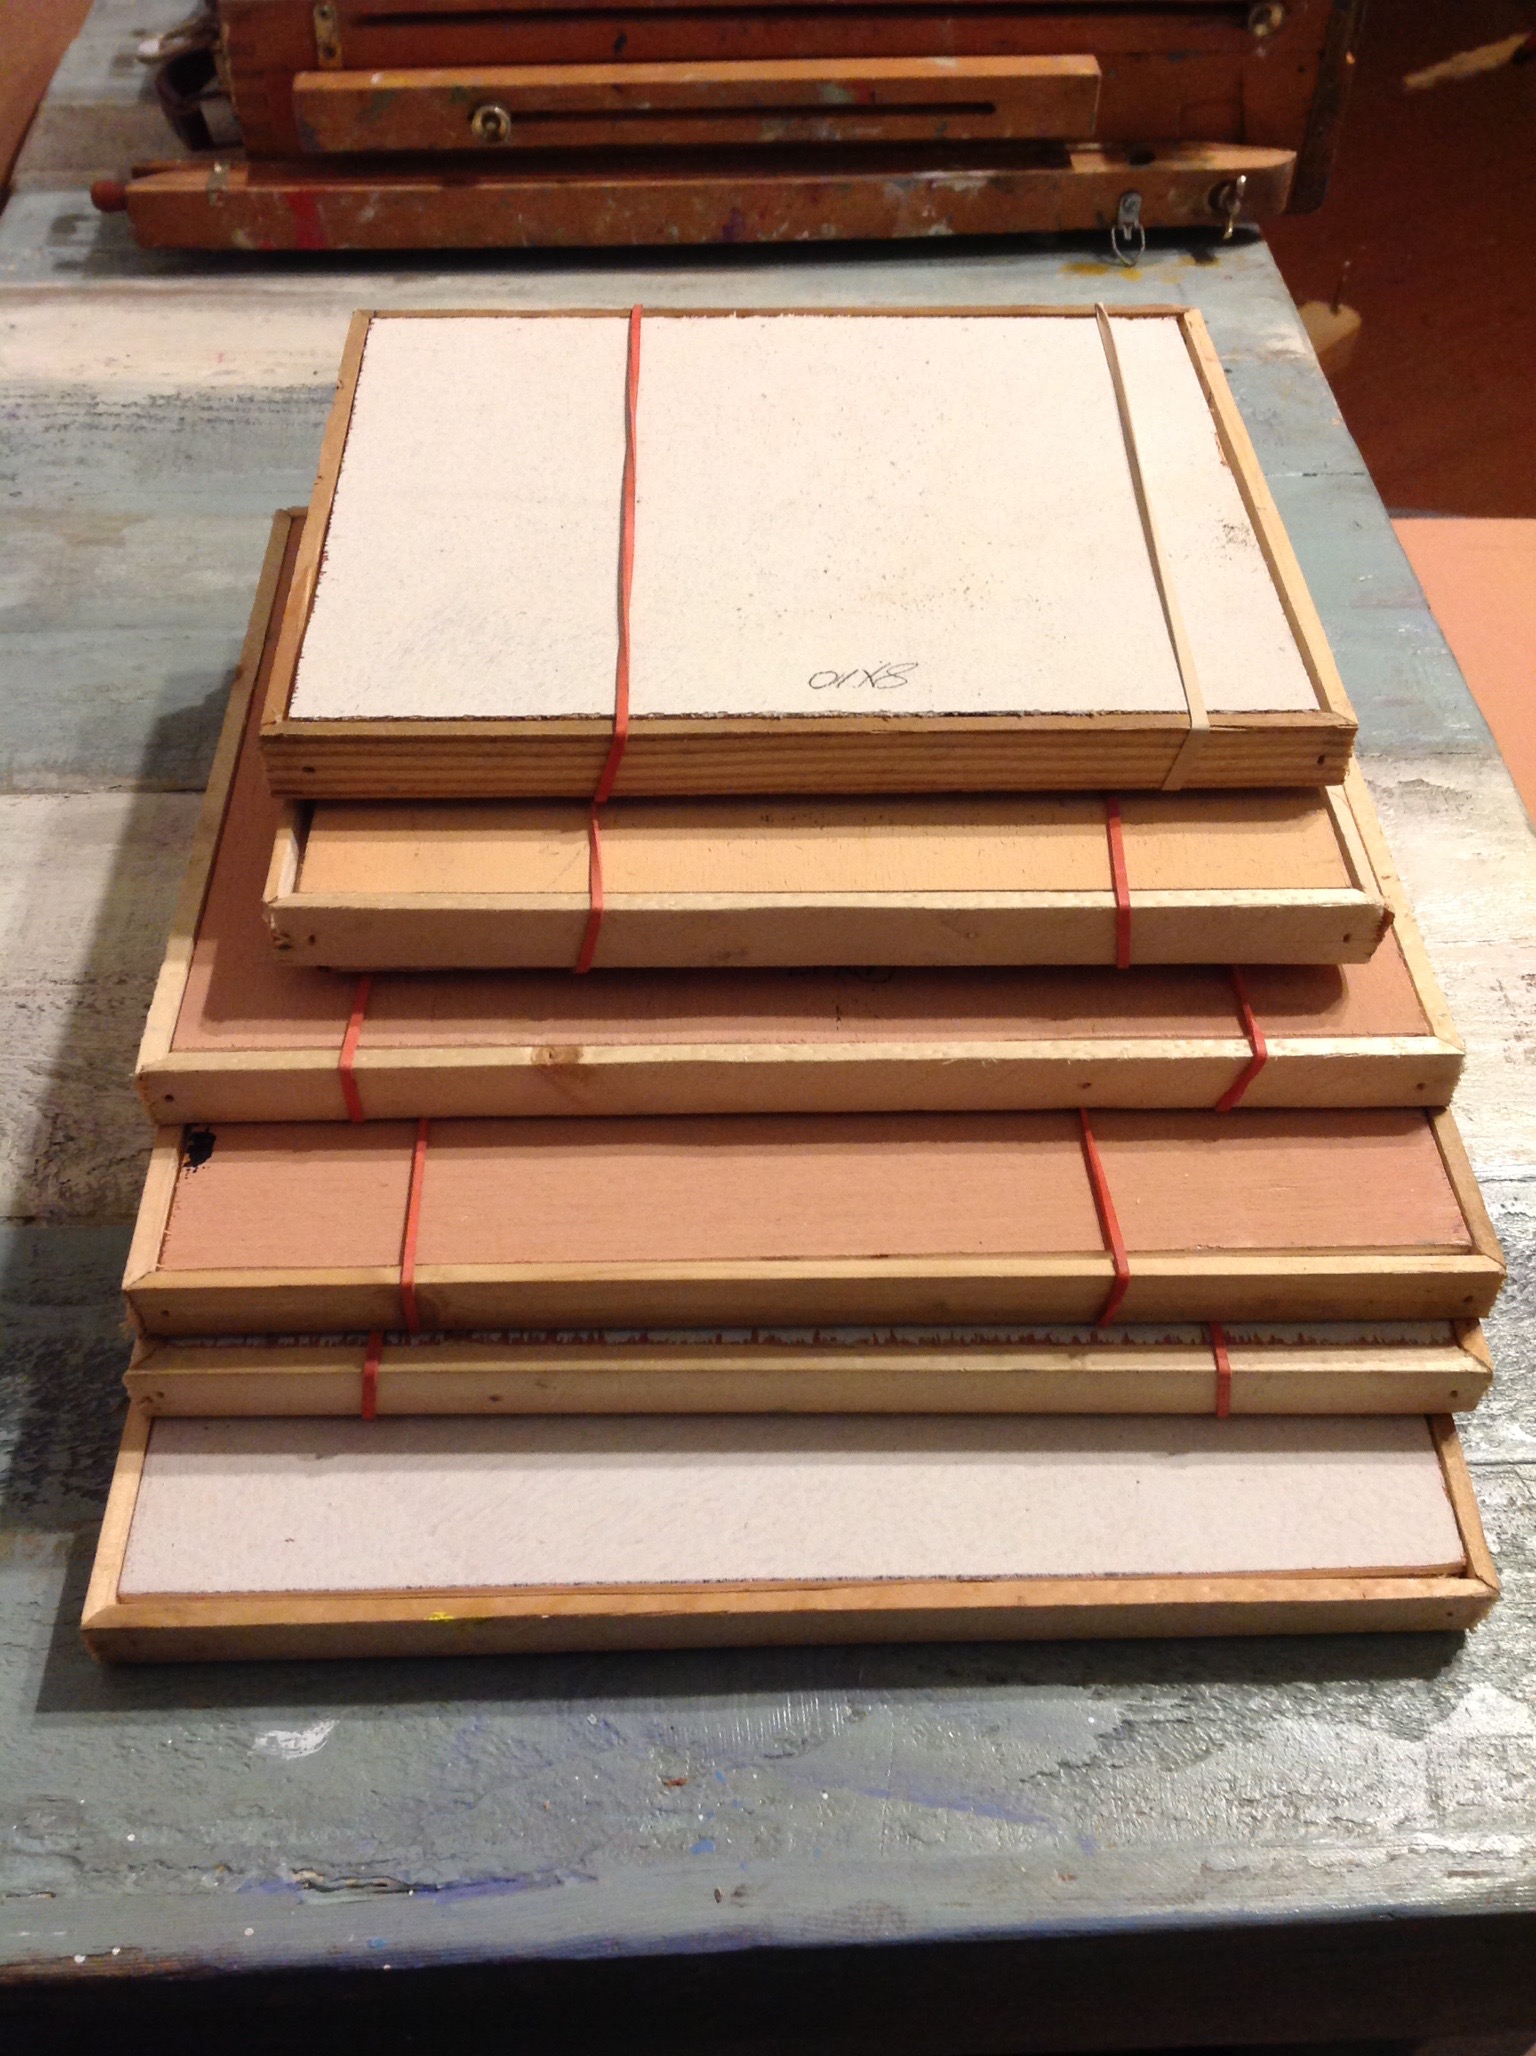
Palette - Wooden palette that you can clip to your easel or disposable. I use a 12 x 16 that fits in my wet canvas carrier
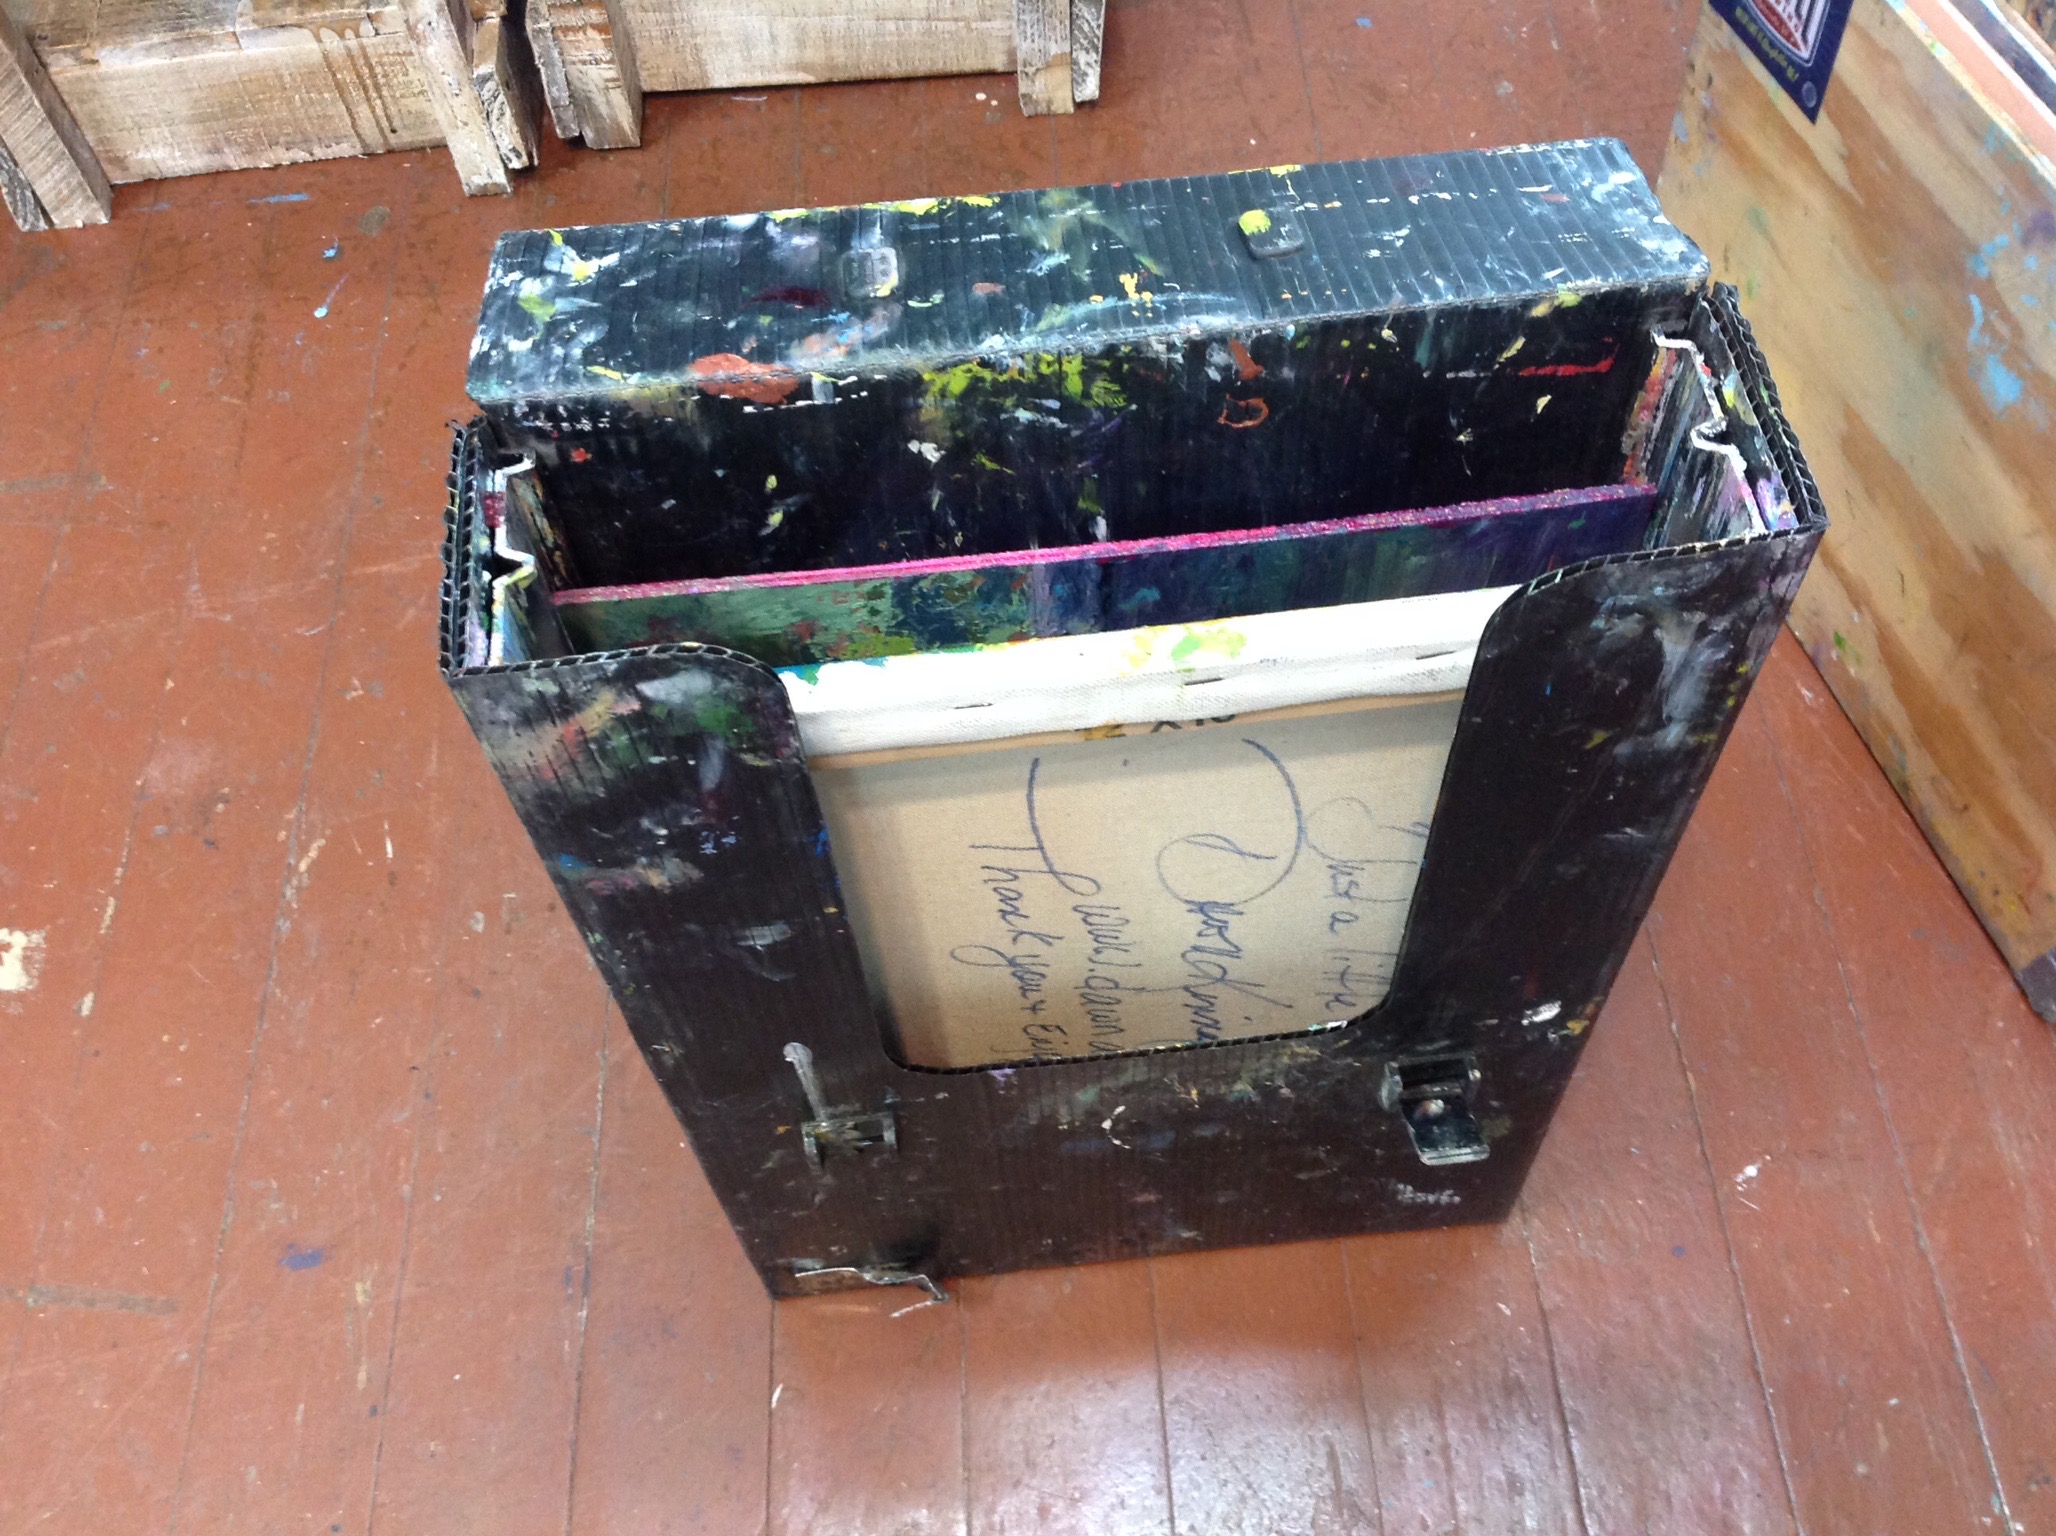
Wet canvas or panel carrier
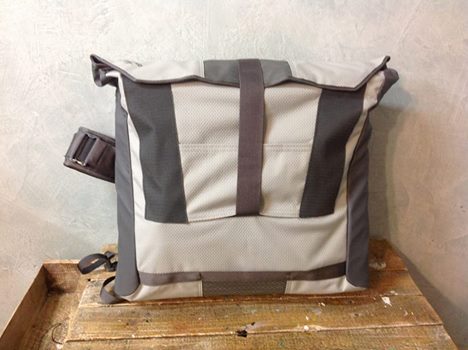
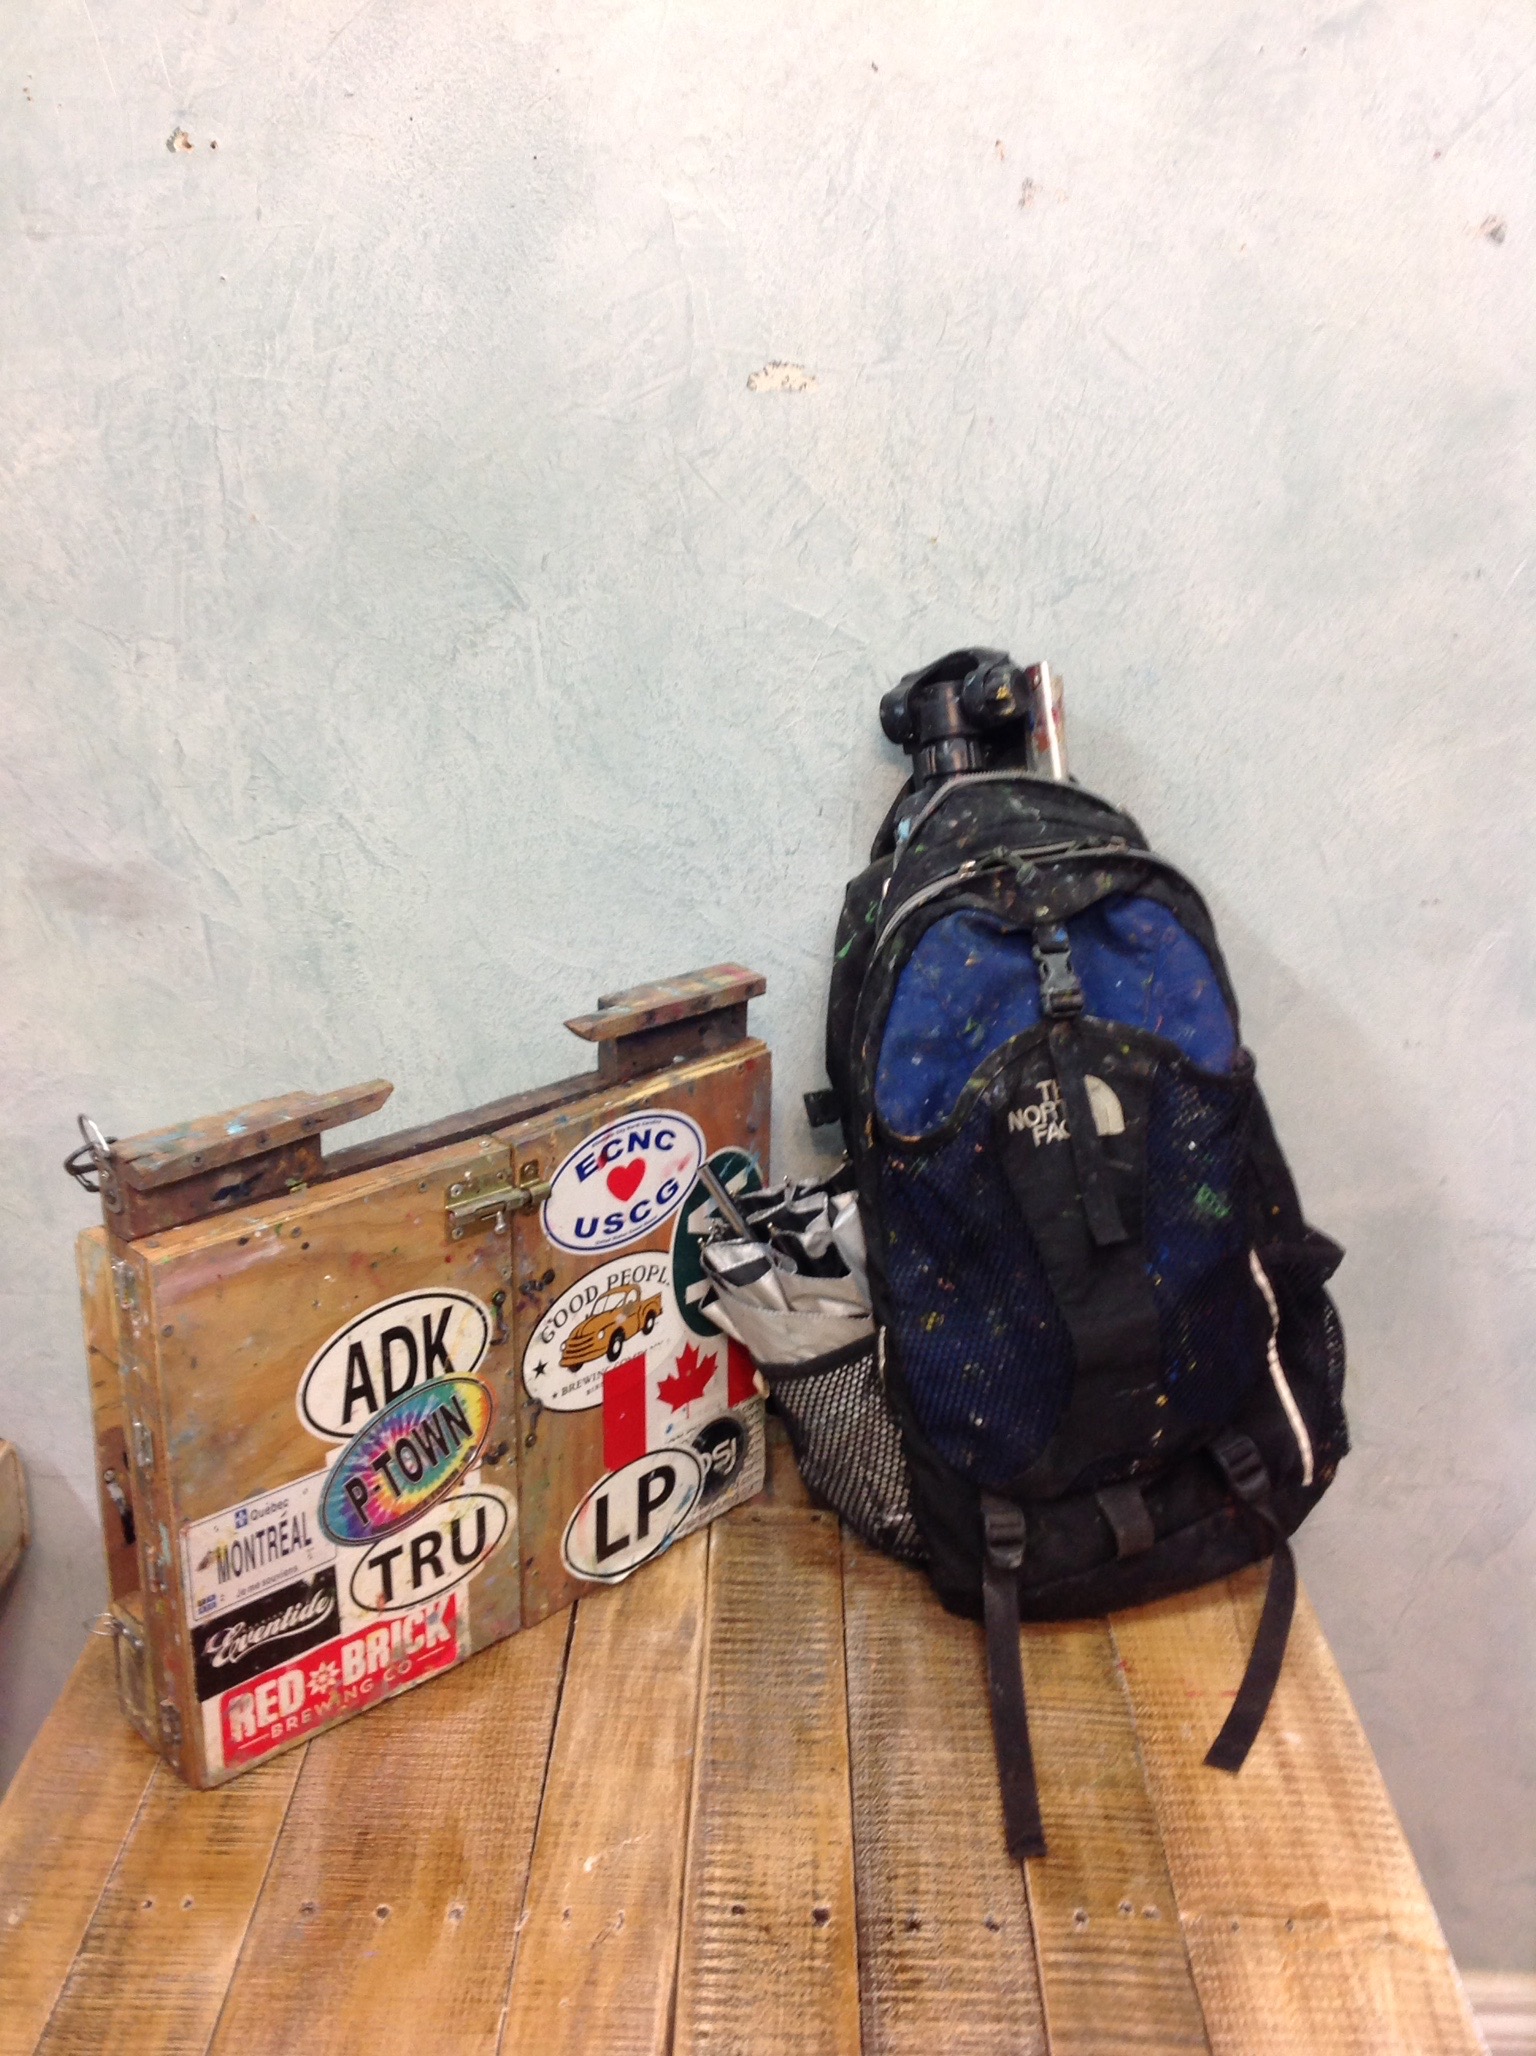
A backpack is a great help if you can get most of your supplies in it
Paints - I suggest a simple palette to start with. A cool red and blue and a warm red and blue
Example of colors
White - a big tube
Hansa Yellow or Cadmium Yellow Light - something similar(cool) Yellow Ochre , Cadmium Yellow Medium (warm)
Alizarin Crimson or Permanent Rose(cool) Cadmium Red or Hue
Ultramarine Blue (warm) Pthalo Blue Green Shade (cool)
I also like Sap Green as a great mixing color
Any other colors that make you happy
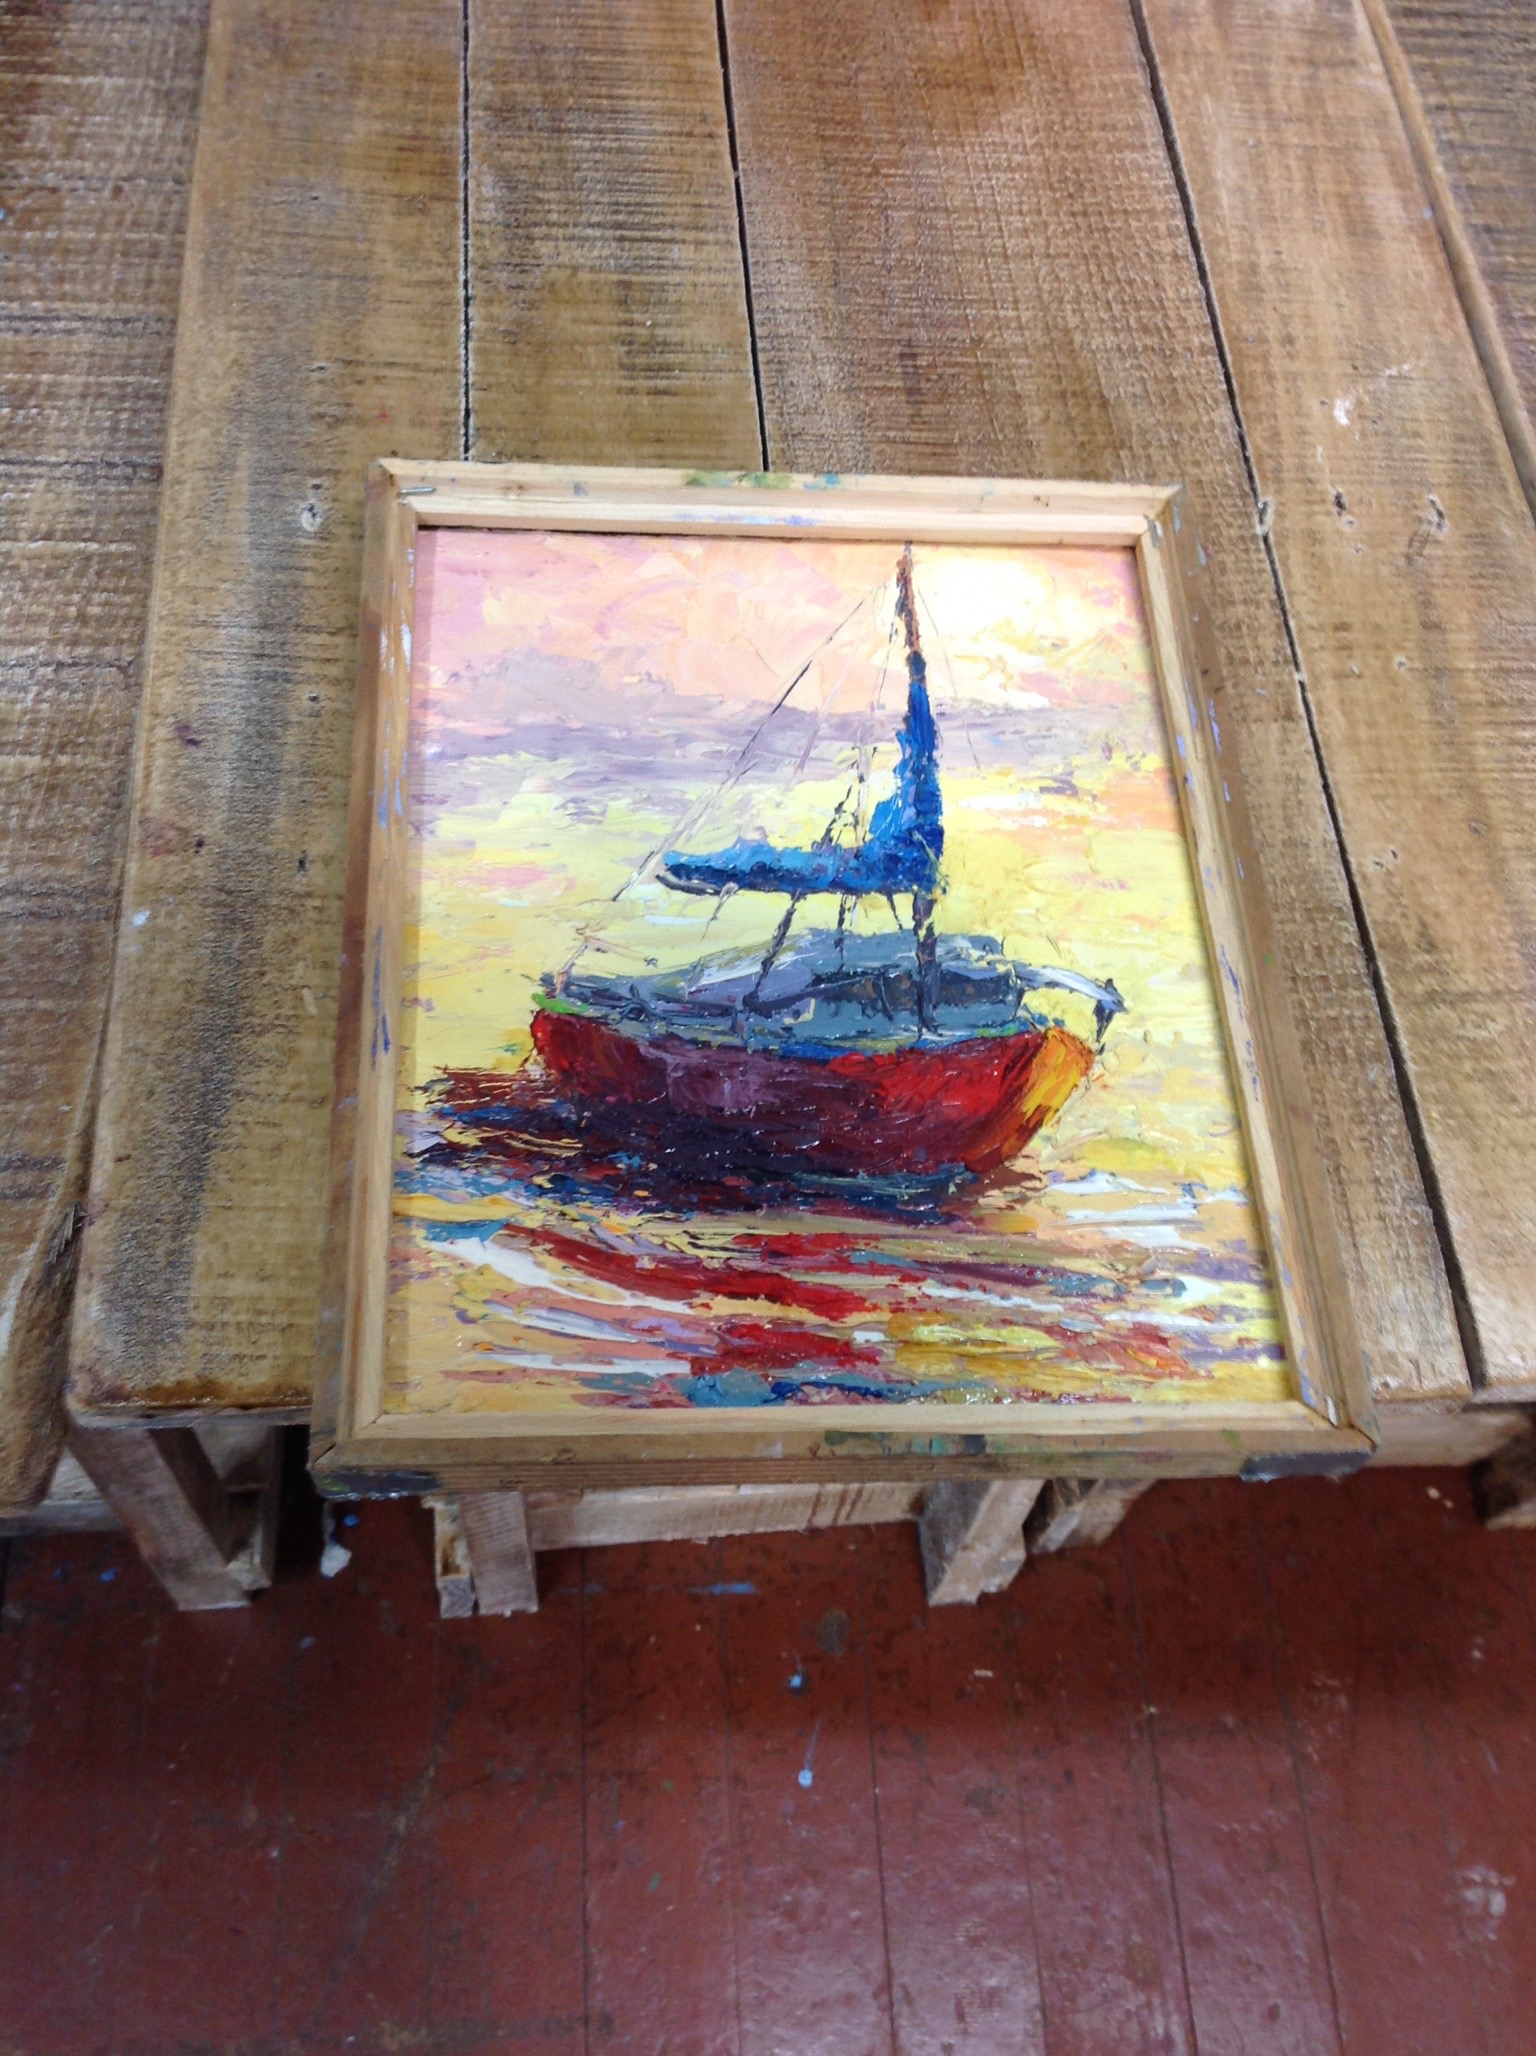
Canvas or panels. I usually use 9x12, 11x14, 12x12, 12x16 6x8
If you have a backpack or large shoulder bag that most of your supplies will fit in – A HUGE help. You can hang your paint bag to your tripod to add weight and stability
Paper towels, baby wipes, & trash bag
A variety of brushes and palette knives of your choice
Brush cleaner and container with a tight lid to keep from spilling
Any medium you use to thin your paint.
If working in oils you will mix a lot of your colors. If working in acrylic, you might bring more pre-mixed colors to help with dry time. Also a slow dry retarder and spray bottle for misting the color and a container for water to clean brushes
Sketch book and pencil
Other helpful items
View Finder. Lot's of options out there but I like this one https://www.amazon.com/Picture-Perfect-Plus-View-Finder/dp/B001BKJ734
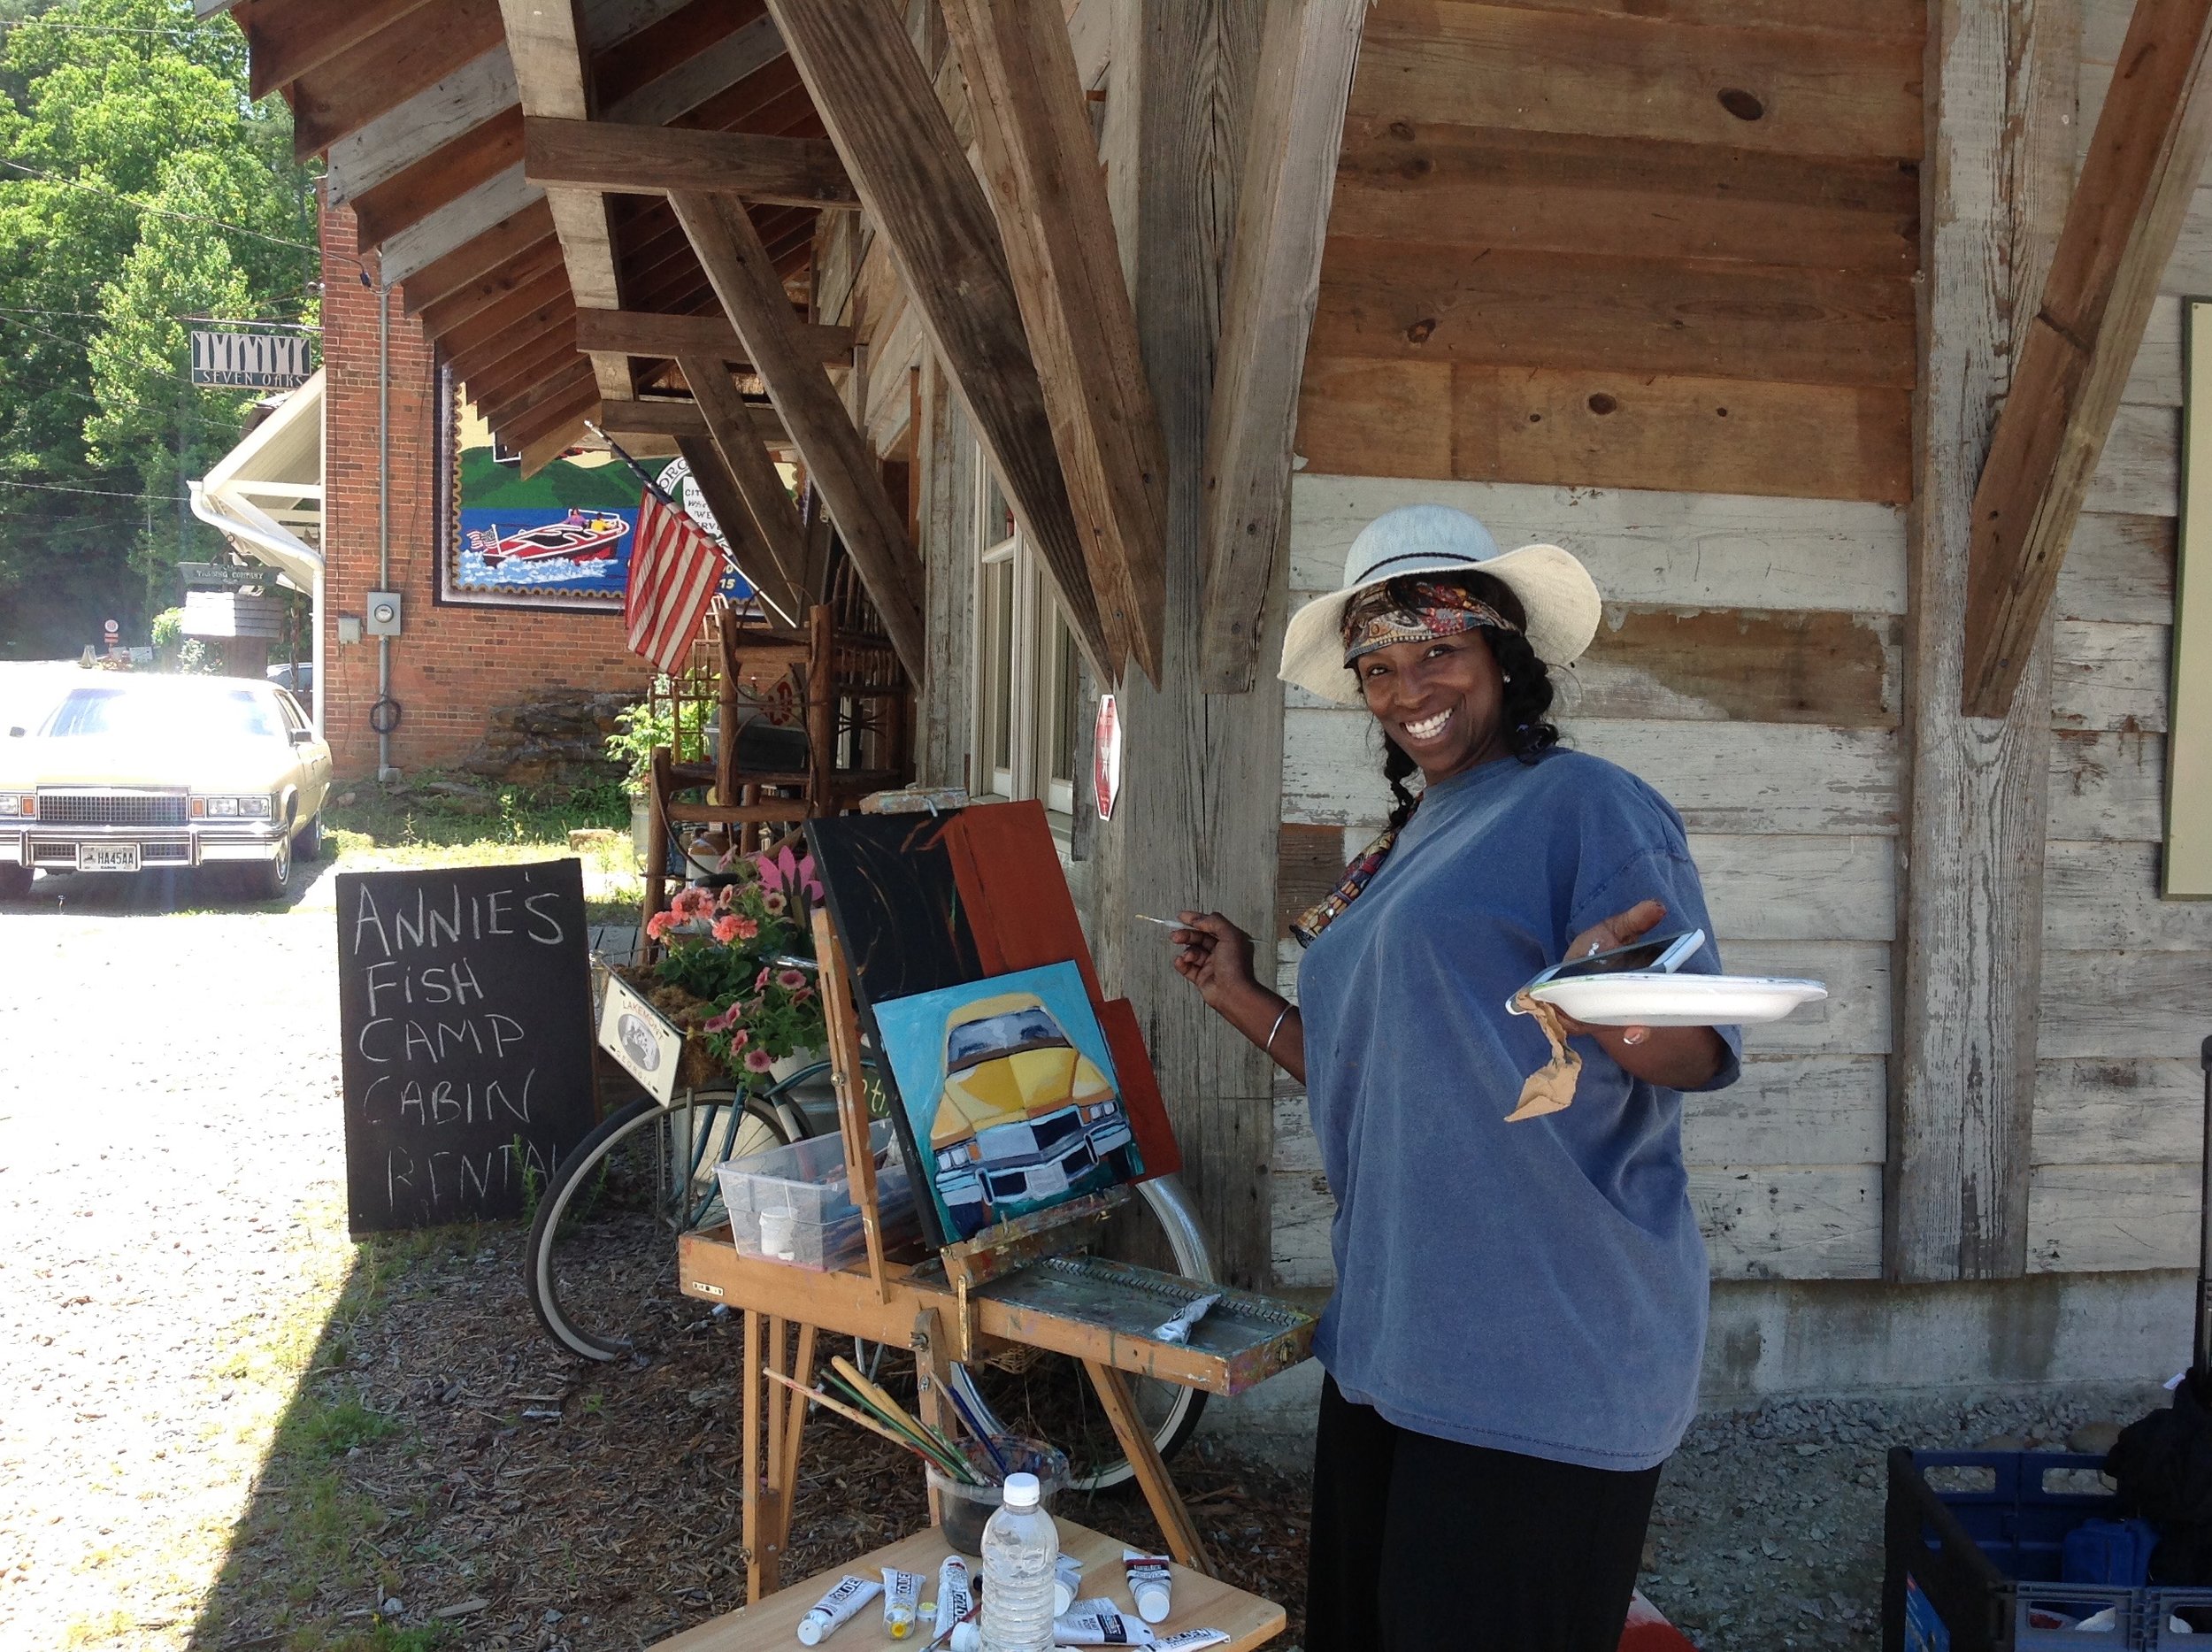
Hat - cover your face and ears
Sunscreen and bug spray
Umbrella - to use as a sunscreen or rain protection
Bag or pack to put all supplies in.
Gloves for your hands . I don’t like plastic because they are too sweaty!
Bottled water and a snack.
Chair and or table only if you want to carry it!
Ideas for Easels
Price Range for French Easels: New: $150.00 - $250.00 maximum - can find on sale at Amazon or other places like Craigs List. Facebook also has artist equipment sales pages. You can find great deals.